

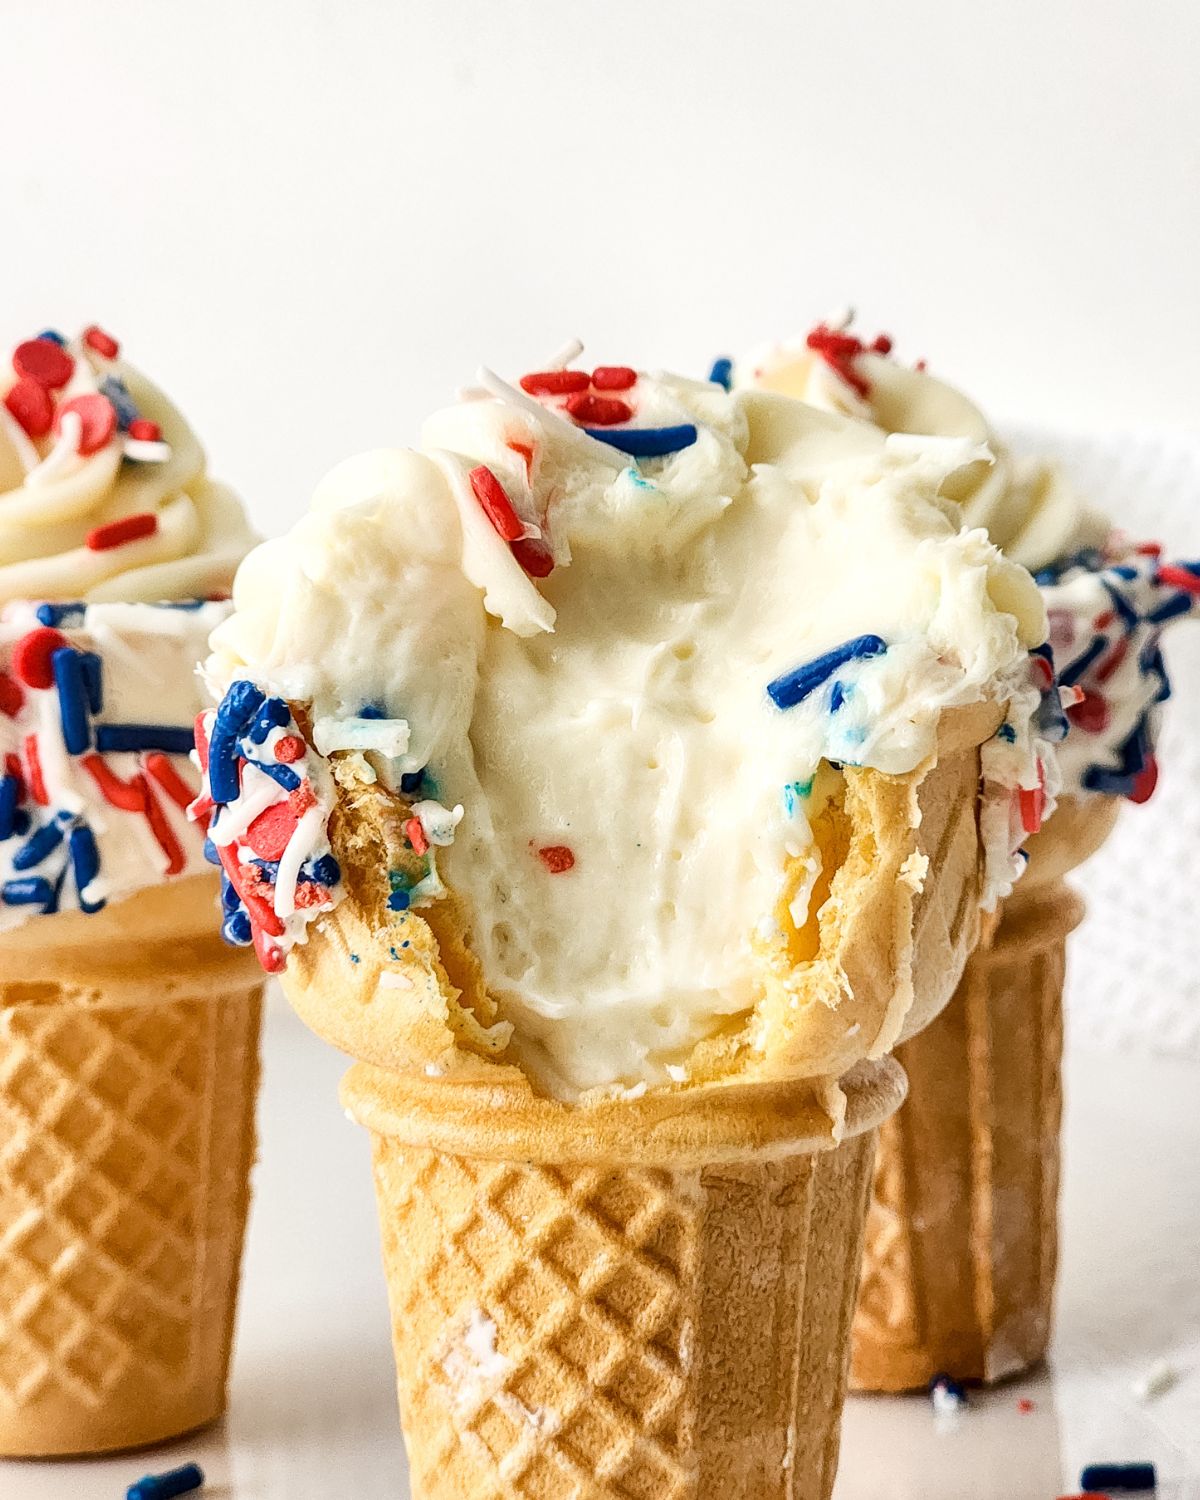
These Patriotic Cheesecake Waffle Cones are the perfect treat for any summertime celebration. Made with a creamy filling and topped with festive sprinkles, they will surely be a crowd-pleaser.

Looking for specifics on the recipe? Use the table of contents to click on sections of the recipe.
Jump to:
Why you'll love this recipe
- Patriotic cheesecake waffle cones need only a few simple ingredients so you don't have to spend much money at the store.
- Homemade no-bake cheesecake cones are festive, easy to make, and fully customizable.
- You can make the cheesecake filling ahead of time.
- Fill the cones when ready to serve.
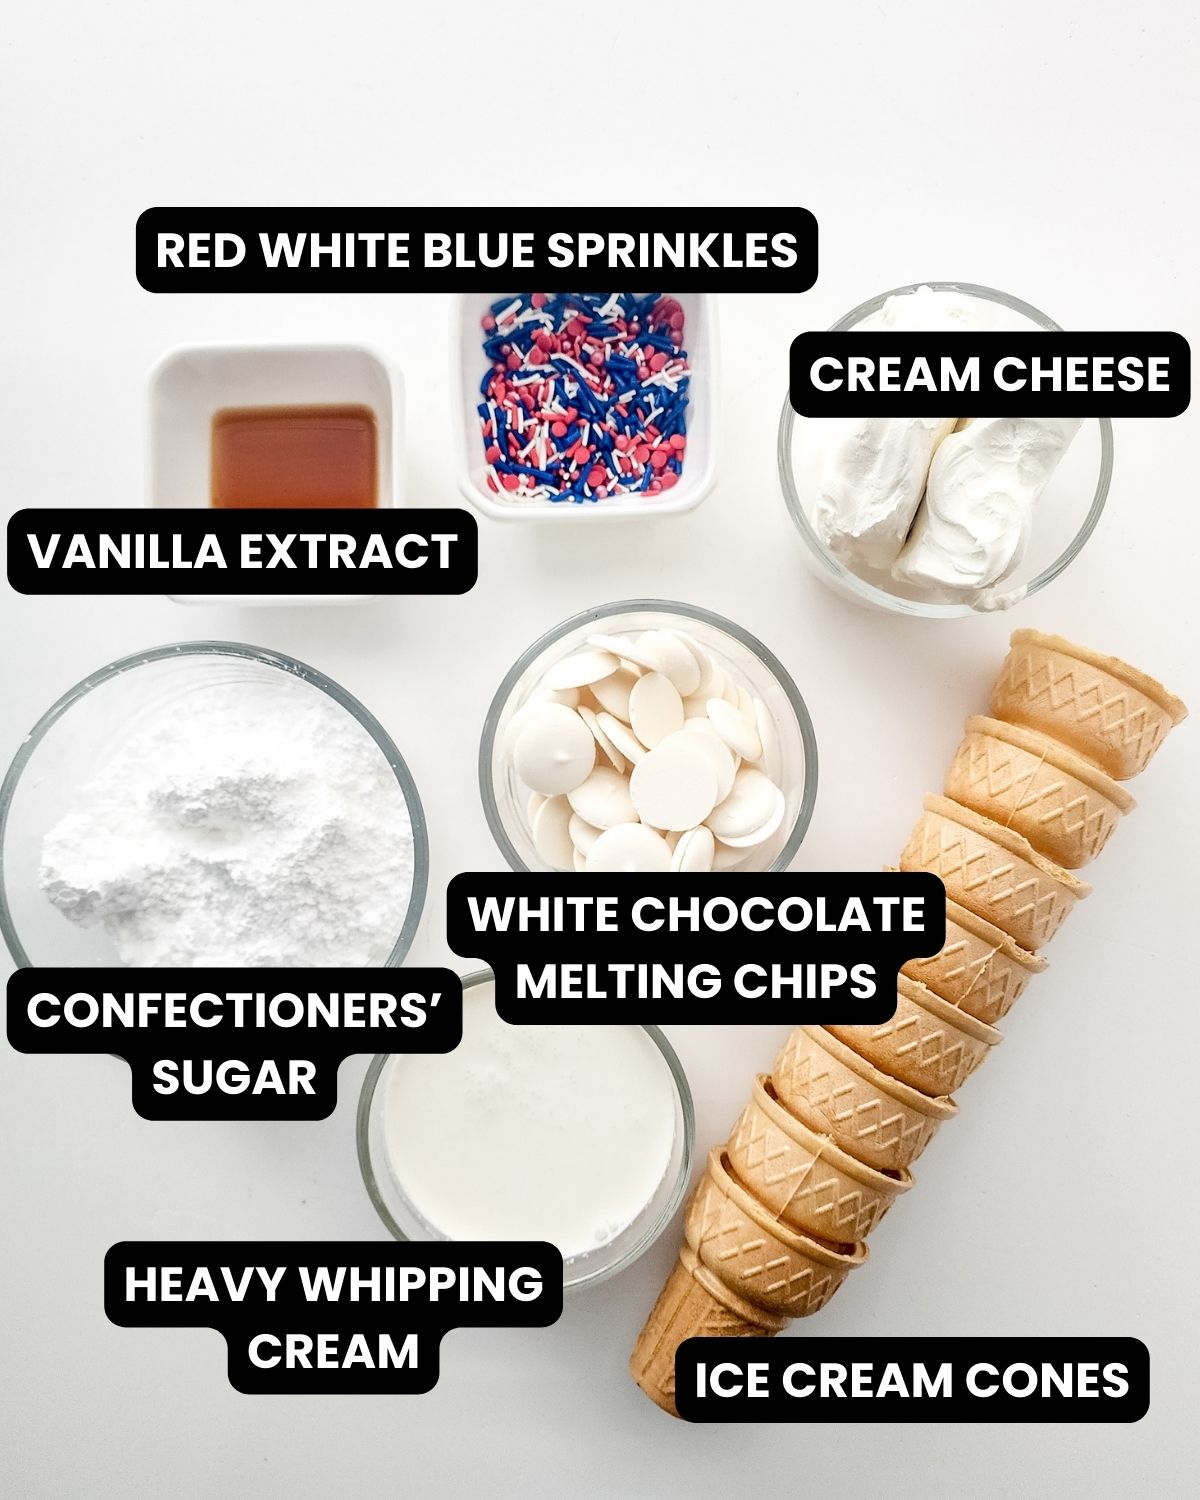
Ingredient List
As an Amazon Associate, I earn from qualifying purchases.
- heavy whipping cream
- cream cheese
- confectioners' sugar
- pure vanilla extract
- waffle ice cream cones
- white chocolate melting chips
- Red, White & Blue Sprinkles
Equipment
- Hand Mixer
- Piping Bag
- Metal Star Piping Tip
- Measuring Spoons and Cups
- Stainless Steel Mixing Bowls
Instructions
This is an overview of the recipe. The full instructions are below in the recipe card.
- In a large mixing bowl beat the heavy cream for 3 minutes or until stiff peaks form.
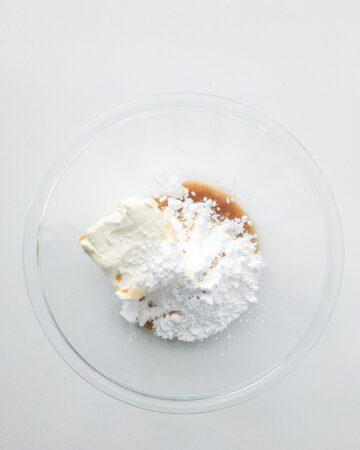
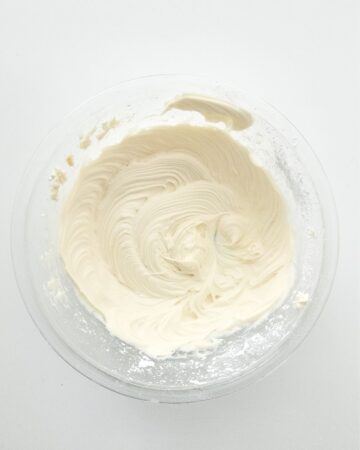
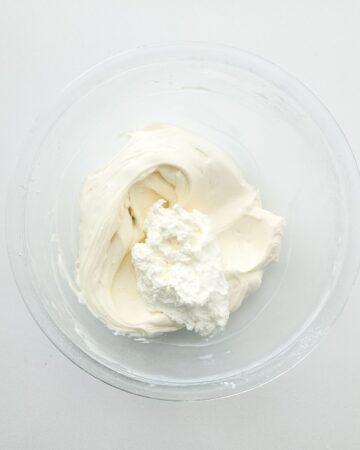
- In another bowl combine the cream cheese, powdered sugar, and vanilla extract.
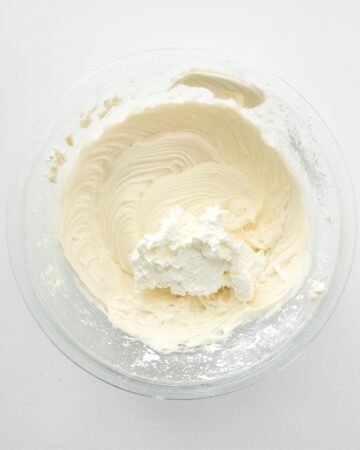
- Add half of the cream cheese mixture gently to the whipped cream.
- Then fold in the remaining half of the cream cheese mixture.
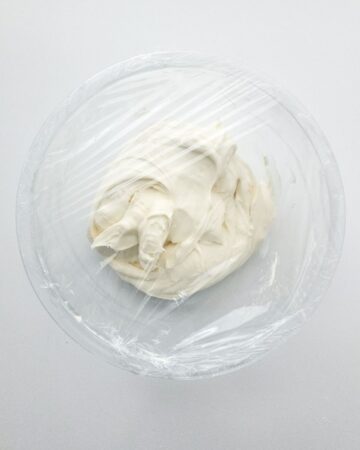
- Cover the bowl and chill in the fridge for one hour.
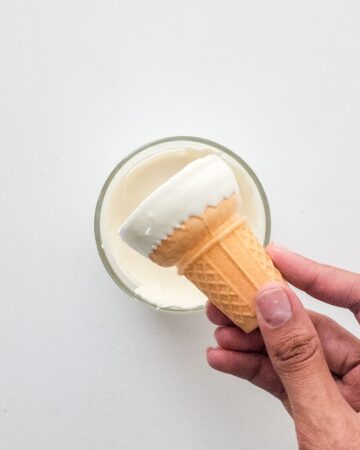
- While the filling chills, melt the white chocolate in the microwave until smooth. Then dip the rim of each cone into the melted chocolate.
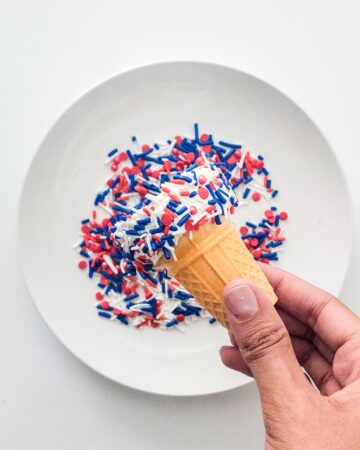
- While the chocolate is still wet dip the cone into the sprinkles.
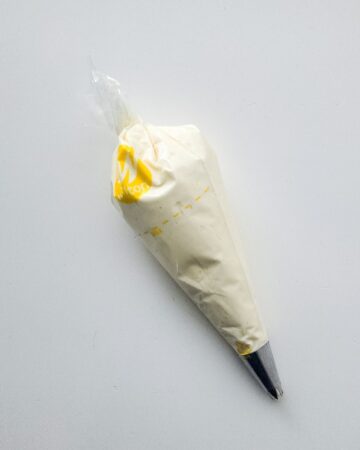
- Add the cream cheese mousse mixture to a piping bag.
- Pipe the mousse into the cones,

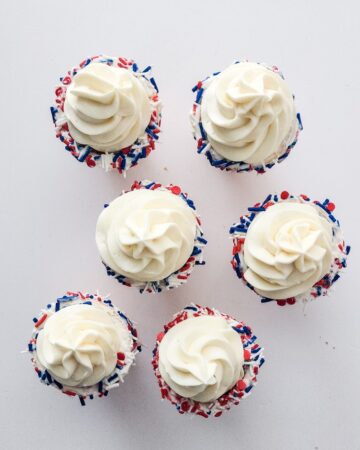
- Then garnish with extra sprinkles before serving.

Eileen's Tips for Success
- Use room-temperature cream cheese so that you get a smooth filling mixture.
- When you are whipping the heavy cream, whip it until you get stiff peaks, so you don't have a runny filling.
- Use a gentle hand when folding in the cream cheese mixture so don't deflate the whipped cream.
Variations
Do you want to change up this recipe? Here are some ways to change the flavor of this dish.
- I love the color of the white chocolate, but you can also use red or blue candy melts for dipping your cones.
- Add a few drops of lemon or orange extract to the mousse for a little more flavor.
Make-ahead, storage, and freezer tips
Storage - You can store the mousse in the piping bag or an airtight container in the fridge for up to 24 hours.
The cones can also be stored in an airtight container in the refrigerator for up to 3 - 5 days.
Frequently Asked Questions
Yes, the mousse can be made up to 24 hours ahead. And, you can also dip the cones up to 24 hours ahead. But, I don't recommend filling them until you are ready to enjoy them so that the cones aren't soggy.
Serving Suggestions
I love to serve these red white and blue cones at our Fourth of July Party. And, these Foiled Wrapped Grilled Pork Ribs, Bacon Ranch Potato Salad, and Roasted Corn on the Cob are always on our holiday table.
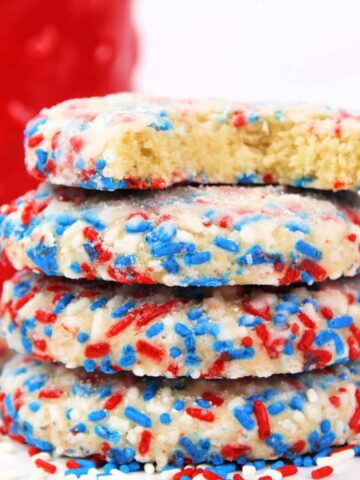
Similar recipes
Are you looking for more delicious summer recipes to make with your family? Here are a few of my favorites:


I love any comments or questions, please feel free to leave them below.
Keep up to date with recipes by following me on:
FACEBOOK INSTAGRAM, PINTEREST, TWITTER
Thank you for your continued support. I am forever grateful.
Eileen xo
If you click on the number of servings in the recipe card you can adjust the measurements up or down for the exact number of servings you need.
📖 Recipe
Save the Recipe?

Patriotic Cheesecake Mousse Stuffed Cones
As an Amazon Associate, I earn from qualifying purchases
Equipment Needed:
Ingredients
Mousse
- ⅔ cup heavy whipping cream
- 8 ounces cream cheese (room temperature)
- ⅔ cup confectioners' sugar
- 1 teaspoon pure vanilla extract
- ½ cup white chocolate melting chips
- 8 waffle ice cream cones
- Red, White & Blue Sprinkles
Instructions
- In a large mixing bowl add ⅔ cup heavy whipping cream. Use a hand mixer with beaters attached to whip the heavy cream until stiff peaks form, about 3 minutes on high speed. Set aside.
- Add 8 ounces cream cheese (room temperature), ⅔ cup confectioners' sugar, and 1 teaspoon pure vanilla extract in a medium-sized mixing bowl. Beat with the hand mixer with beaters attached until combined and fluffy.
- Add half of the whipped heavy cream to the cream cheese mixtures and gently fold until smooth.
- Fold the remaining whipped cream mixture into the cream cheese mixture, until thoroughly blended.
- Cover with plastic wrap and refrigerate for 1 hour.
- After half an hour, start preparing the white chocolate ice cream cones.
White Chocolate Cones
- Melt ½ cup white chocolate melting chips in the microwave at 30-second intervals, stirring in between, until completely smooth.
- Dip each 8 waffle ice cream cones white chocolate about 1 ½ inches deep. Let excess chocolate drip off then roll the side of the cone in Red, White & Blue Sprinkles.
- Repeat with all of the cones then set aside to harden.
- Once the mousse has chilled, place into a piping bag that is fitted with a star tip
- Fill the ice cream cones with the mousse and create soft serve like ice cream swirls as you reach the top of the cone.
- Fill the ice cream cones with the mousse and create soft serve like ice cream swirls as you reach the top of the cone.
- Sprinkle with extra red white and blue sprinkles if desired.
NOTES
-
Don’t forget to shop at the Everyday Eileen store on Amazon.


Comments
No Comments