
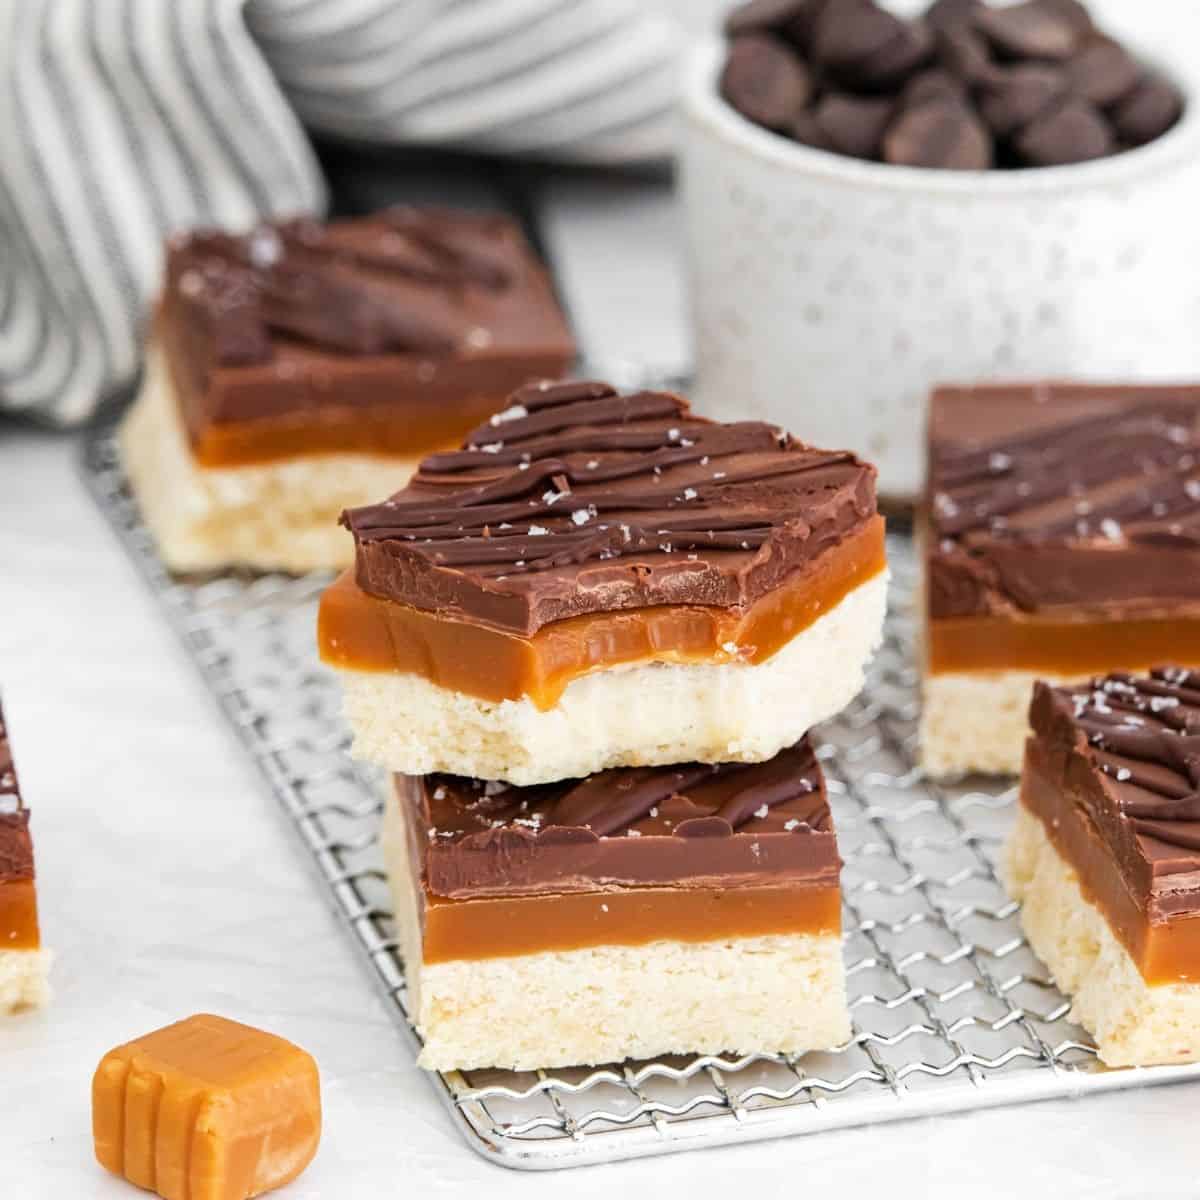
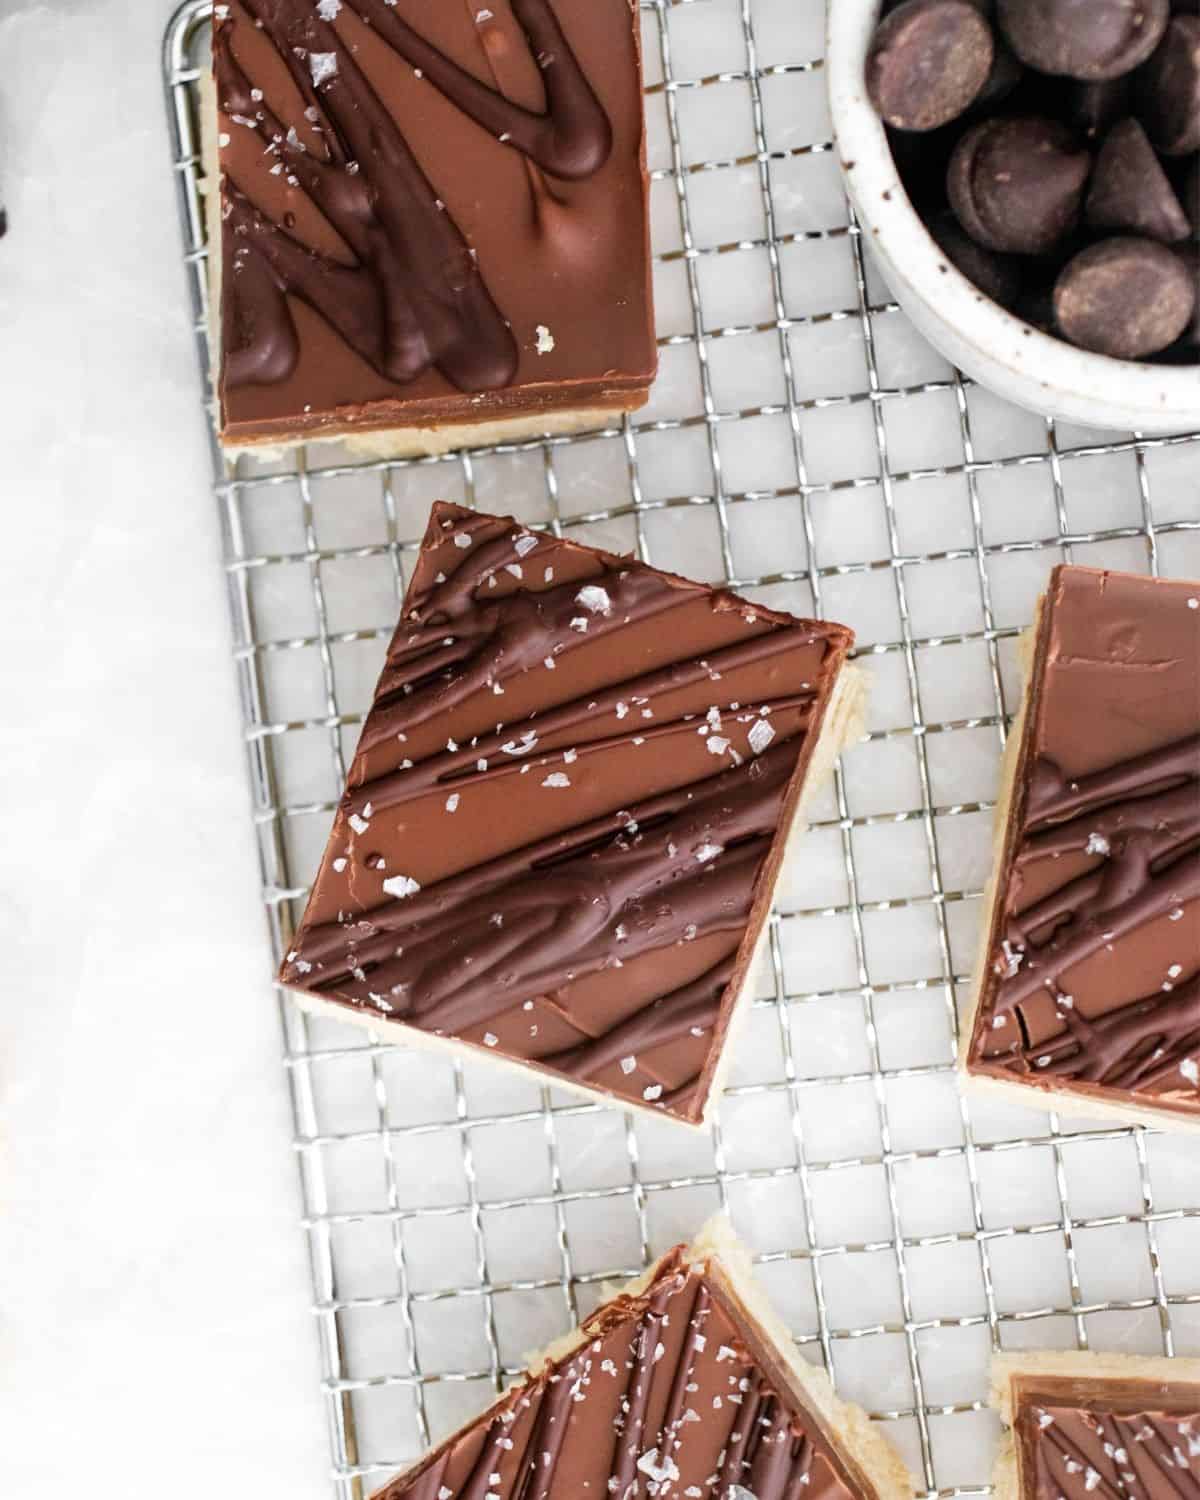
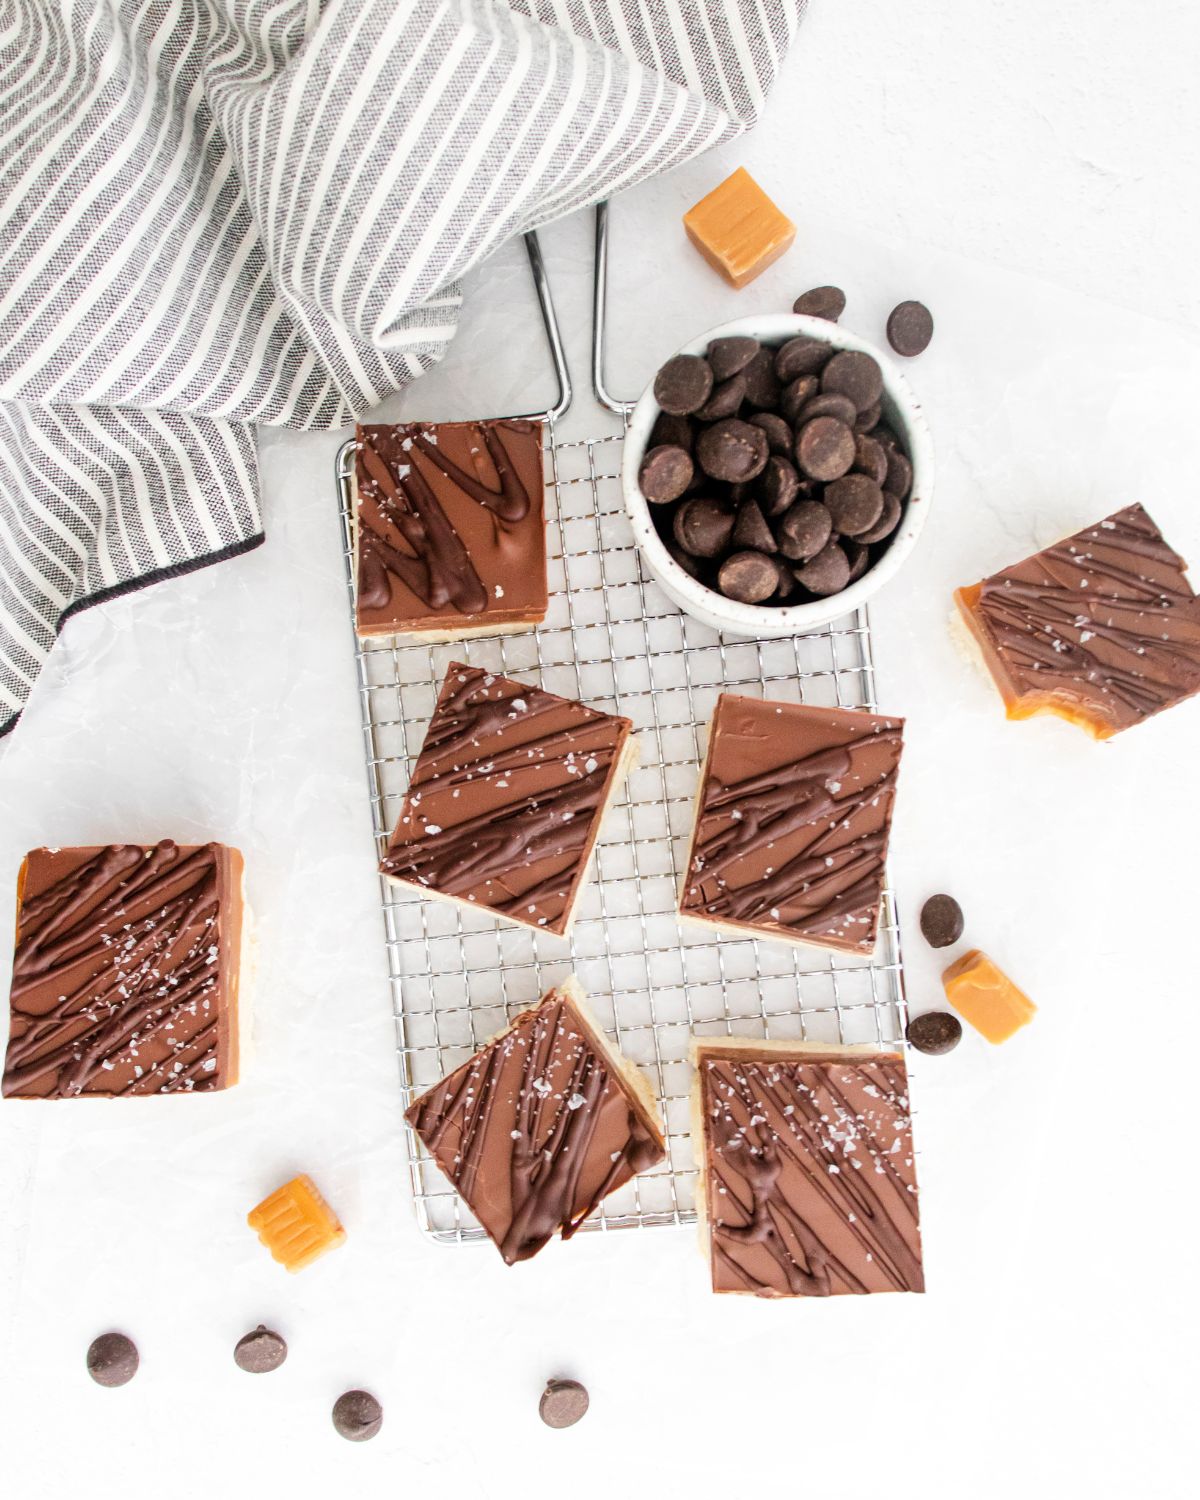
Homemade Twix Bars, have a crunchy shortbread crust layered with gooey caramel and a decadent chocolate topping.
Looking for specifics on the recipe? Use the table of contents to click on sections of the recipe.
Jump to:
❤️ Why this recipe works
- Homemade Twix candy bars are way better than any store-bought.
- Make ahead and freeze a batch for those chocolate cravings.
- Doesn't everyone love chocolate and caramel? Well these Twix bars will blow away the store-bought candy.
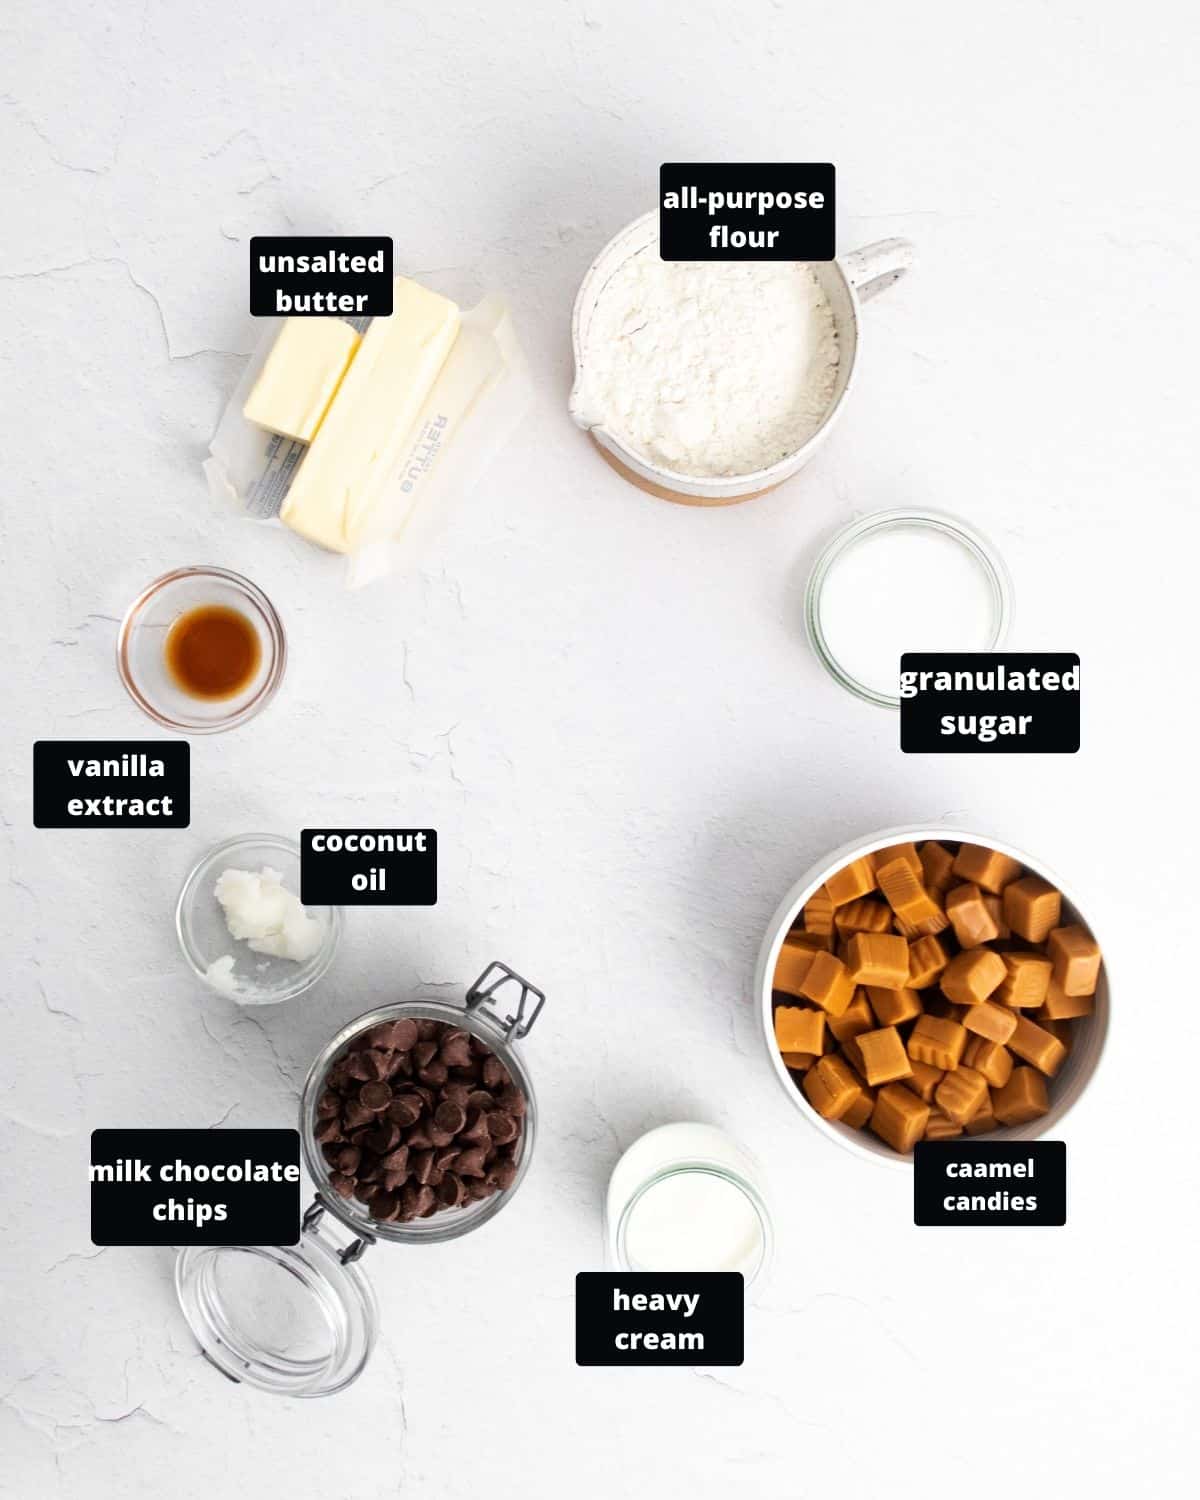
🥘Ingredients
As an Amazon Associate, I earn from qualifying purchases.
- milk chocolate chips
- heavy cream
- caramel candies
- coconut oil
- vanilla extract
- granulated sugar
- unsalted butter, room temperature
- all-purpose flour
🥘 Equipment
🔪 Instructions
This is an overview of the recipe. The full instructions are below in the recipe card.
Shortbread Crust
Step 1: Preheat oven to 375°F/190°C
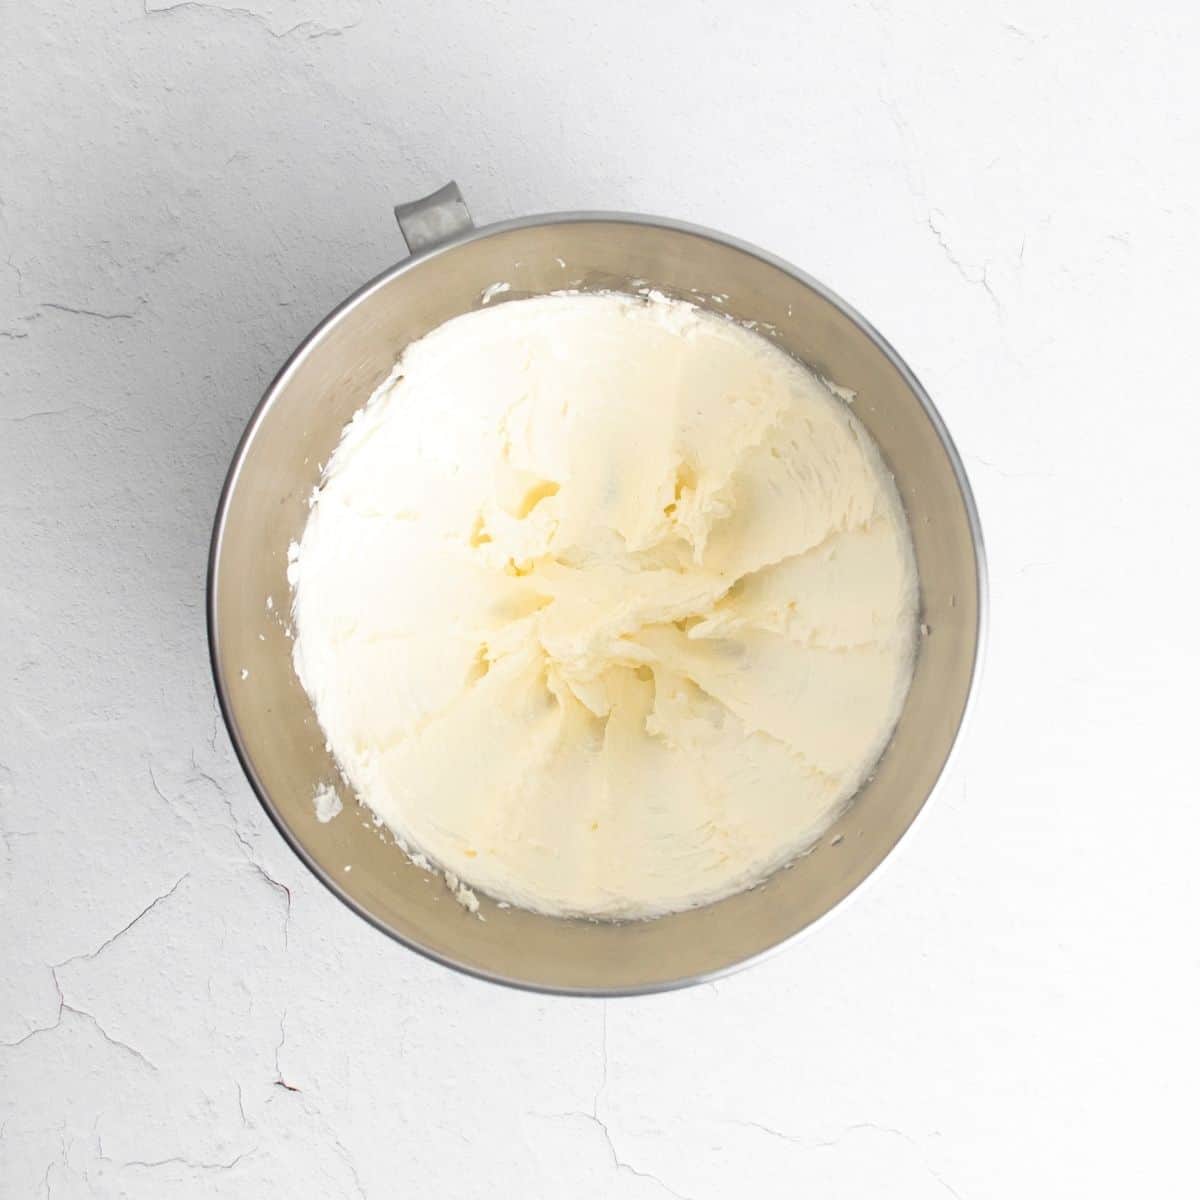
Step 2: In the bowl of your stand mixer, fitted with the paddle attachment, add the softened butter and granulated sugar. No stand mixer, use an electric hand mixer with beaters attached and a large mixing bowl.
Step 3: Cream the butter and sugar for 2-3 minutes, until the mixture is light and fluffy.
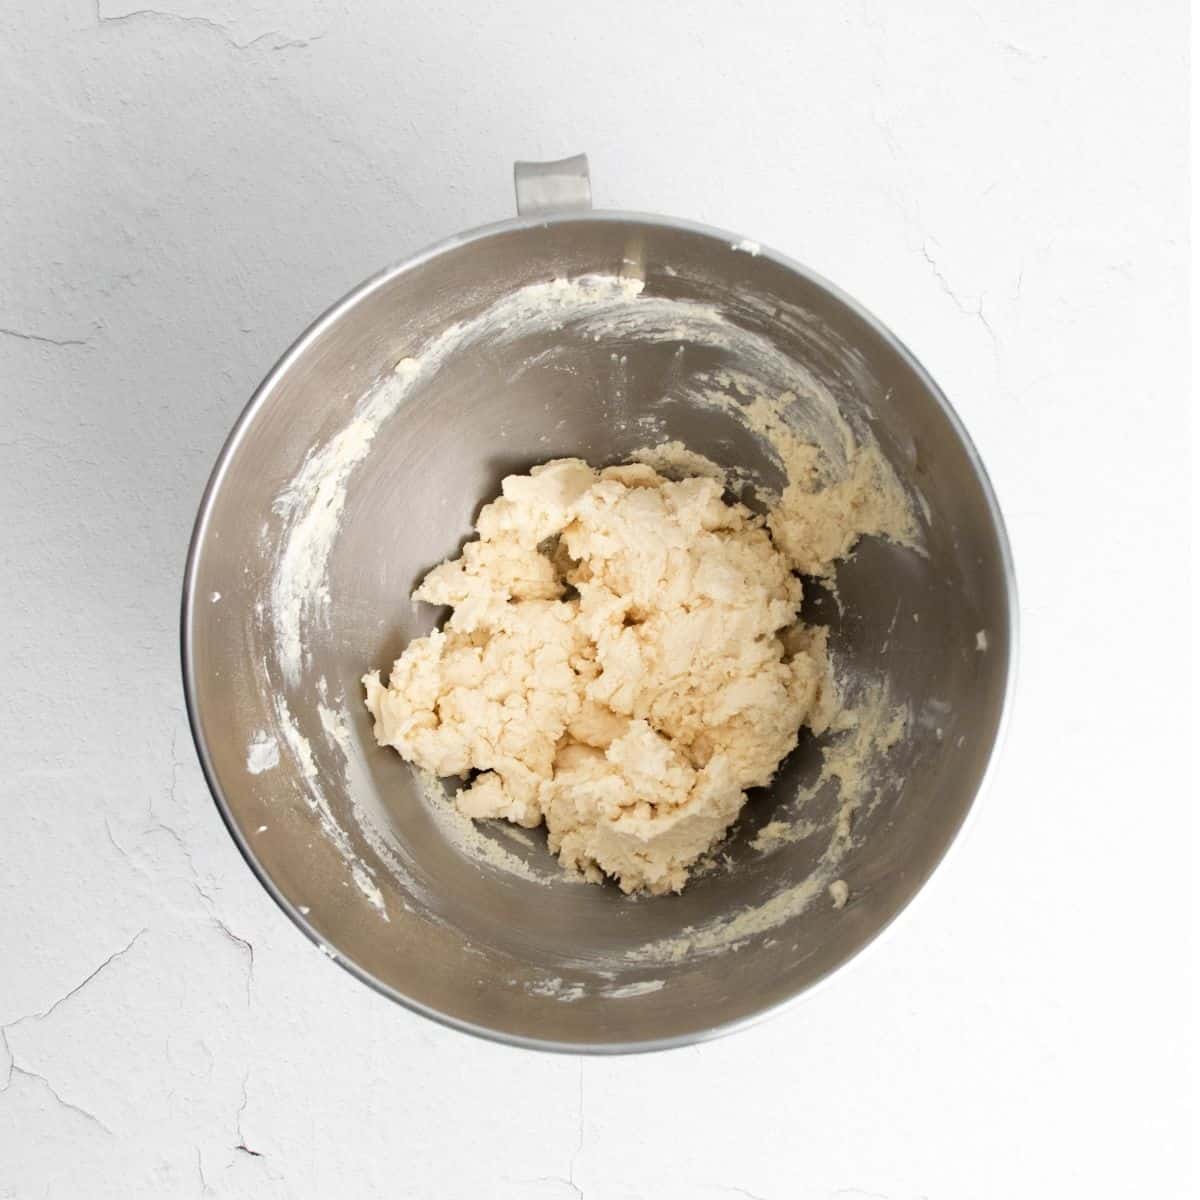
Step 4: Add the vanilla extract and gradually mix in the flour.
Step 5: Line an 8" x 8" square baking pan with parchment paper.
Step 6: Press the dough into the prepared pan.
Step 7: Bake for 15-18 minutes, until the edges are golden brown. Set it aside, let cool.
Caramel Layer
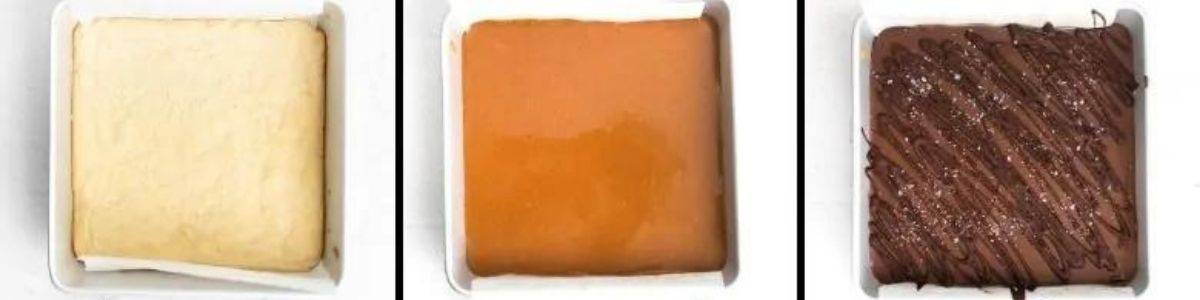
- In a small saucepan, over medium heat, blend the caramels and heavy cream, stir often until blended.
- Pour over the shortbread crust. Place in the refrigerator for 1 hour or until it sets and hardens.
Chocolate Layer
- In a small, microwave-safe bowl, combine chocolate chips and coconut oil. Microwave at 30-second intervals, until fully melted and blended. Stirring in between each interval.
- Pour over hardened caramel. If using, sprinkle the sea salt flakes.
- When the chocolate is fully hardened, slice into squares and serve.
How to store, reheat, and freeze
Storage: Keep the Twix Bars in the fridge in one layer, otherwise they may stick together. If stacked, the chocolate topping may also get a bit funky.
Keep the bar in the refrigerator in a covered airtight container, covered, for up to 4 days.
Freezer: The bars can be frozen. Freeze the bars in a single layer so the chocolate doesn't stick as it defrosts. I use my food saver to store the bars.
Freeze for up to 3 months. Defrost overnight, in the fridge before cutting and serving.
💭 Expert Tips
Expert Tip: When it comes to baking, there are very little changes to suggest. Baking is such a science I recommend following the directions.
- The shortbread crust sets thin but rises as it bakes.
- The parchment paper on the baking pan makes it easy to lift out the bars.
- Be sure to let each layer cool in the refrigerator before adding the next layer.
- Run the knife under warm water to ensure fast clean slices.
- Be sure to dry the knife before slicing the Twix Bars
- Use a clean sharp knife to cut even slices.
📋 Frequently Asked Questions
Sure, as you add each layer, place the pan into the freezer to set each layer quickly.
When we gift these to family and friends, I slice them and wrap pieces individually in either wax paper or cellophane and ribbon.
I make these for family and friends. They are so pretty wrapped in wax paper and
🧾 Variations
Do you want to change up this recipe? Here are some ways that you increase the flavor of this dish.
- If you have a favorite homemade caramel sauce, feel free to use it in lieu of caramel candies.
- Use any of your favorite chocolate morsels.
- Vegetable or Canola oil can be used in lieu of coconut oil.
🥗 Serving Suggestions
- Enjoy a Twix party and serve this Twix cheesecake as another dessert.
- Twix Caramel Apple Pie is a delicious
- Serve a rich Caramel Macchiato alongside these candy bars.
🍽 Similar recipes
- Almond Roca is a decadently delicious homemade candy that is always a hit.
- Rocky Road Candy is super fudgy and loaded with marshmallows.
- White Chocolate Peppermint Bark is another favorite that is great for the Holidays.
- Pumpkin Pie Bars are perfect for any fall day.
- Chocolate Bark is another tasty treat for all.
I love any comments or questions, please feel free to leave them below.
Keep up to date with recipes by following me on:
FACEBOOK INSTAGRAM, PINTEREST, TWITTER
Thank you for your continued support. I am forever grateful.
Eileen xo
If you click on the number of servings in the recipe card you can adjust the measurements up or down for the exact number of servings you need.
If you love this recipe please give it 5 stars! ⭐️⭐️⭐️⭐️
Recipe Inspiration
My family loves caramel. I've been making these homemade Twix Bars for years. It's easy and the kids love it.
We love the gooey caramel center with the tasty buttery shortbread crust.
My hope is that you also enjoy making them as much as I do.
📖 Recipe
Save the Recipe?
Homemade Twix Bars Bars
Equipment
Ingredients
Instructions
- Preheat oven to 375°F. Line an 8" x 8" baking dish with parchment paper.
- To the bowl of a stand mixer fitted with the paddle attachment, add ¾ cup unsalted butter and ⅓ cup granulated sugar. Beat on low speed, then increase to medium-high speed for 2-3 minutes, or until the mixture is light and fluffy.
- Mix in 1 teaspoon pure vanilla extract and blend for about 30 seconds to mix the vanilla into the ingredients.
- Gradually add ½ cup all-purpose flour until incorporated in the butter mixture.
- Pat the dough into the prepared baking dish.
- Bake for 15-18 minutes, or until the edges are starting to turn golden brown. Set aside, let cool.
- In a small saucepan, over medium heat add 11 ounces soft caramel candies and 3 Tablespoons heavy creamCook, stirring often, until melted, about 5 minutes
- Pour over the shortbread base.
- Place the caramel covered shortbread in the fridge to cool until hardened, about 1 hour.
- In a small microwave safe bowl, combine 12 ounces milk chocolate morsels and 2 Tablespoons coconut oil
- Microwave on 30 second intervals until fully melted
- Pour over the hardened caramel and top with sea salt flakes.
- Place the bars back into the fridge to chill under the chocolate has fully hardened-- about 4-6 hours.
- When the chocolate has fully hardened, slice the bars into your desired size and enjoy.
Nutrition
Notes
- Run the knife under warm water and dry the knife to ensure fast clean slices.
- Be sure to check Expert Tips and FAQs above with important tips and questions that can help make a delicious recipe.
- I’m not a registered dietician, I do my best to provide the most accurate nutritional values. Any nutritional data I provide is an approximation. Actual dietary information can vary based on ingredients and portion sizes


Comments
No Comments