

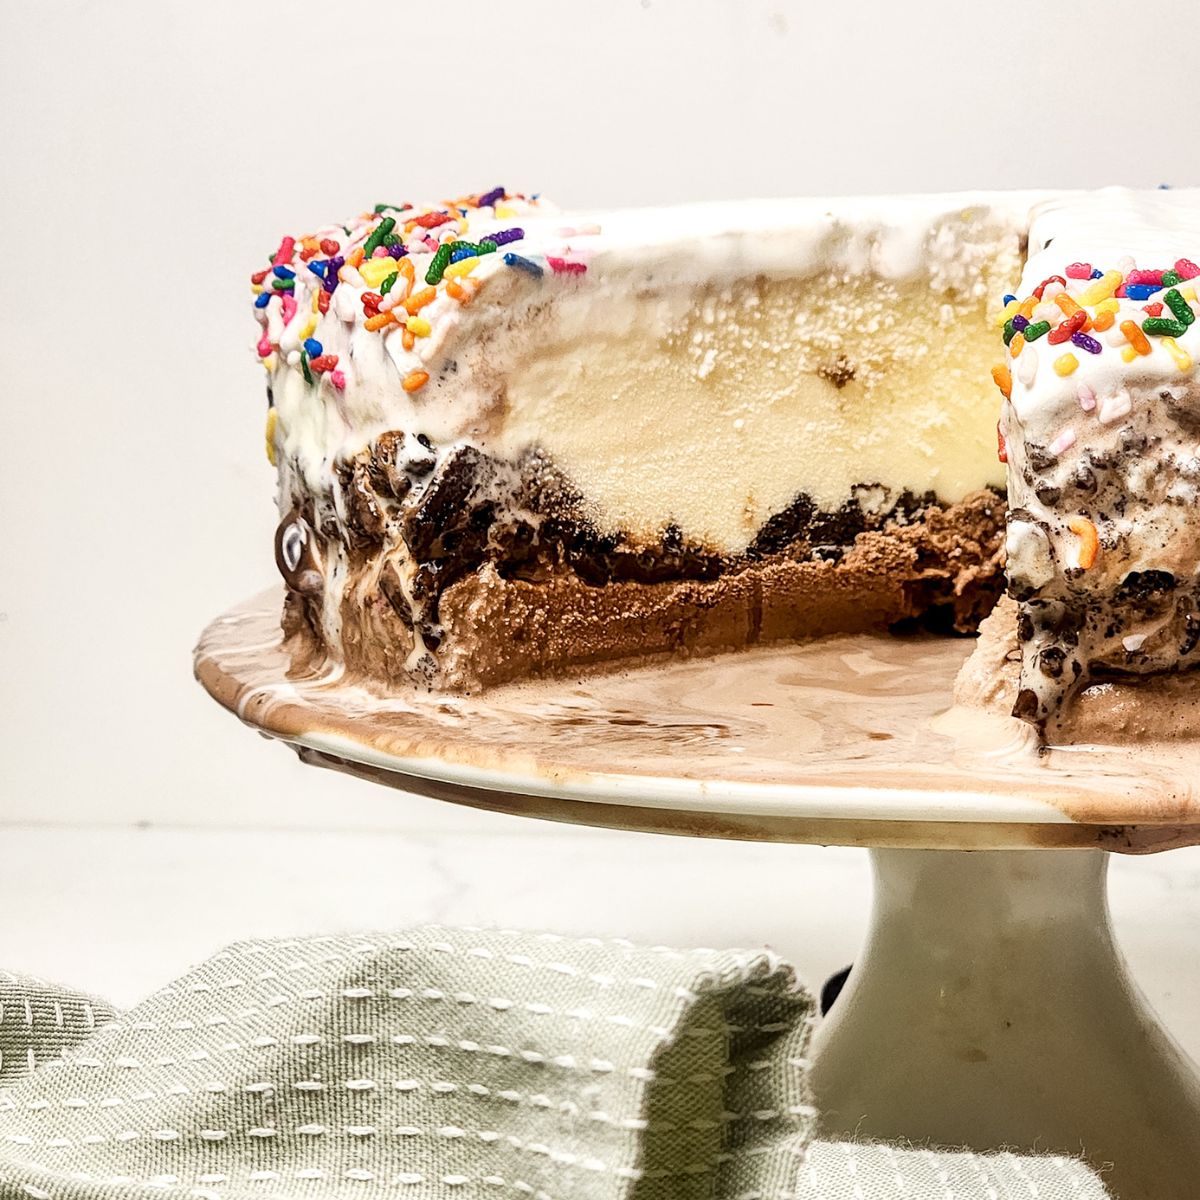
This Copycat Dairy Queen Ice Cream Cake is the ultimate homemade treat for birthdays, celebrations, or just because. It’s got those creamy ice cream layers, the iconic crunchy fudge center, and a smooth whipped topping that ties it all together. Tastes just like the DQ classic, but even better because you made it yourself.

For specifics on the recipe use the table of contents to click on sections of the recipe.
Jump to:
Why you'll love this recipe
- You don’t need to turn on the oven, making it the perfect dessert for hot summer days or busy holidays when the oven is already full.
- The recipe uses simple, easy-to-find ingredients, so you can put it together without hunting down anything fancy.
- It looks like a bakery-style cake but is secretly so easy to make, which means you’ll wow your guests with minimal effort.
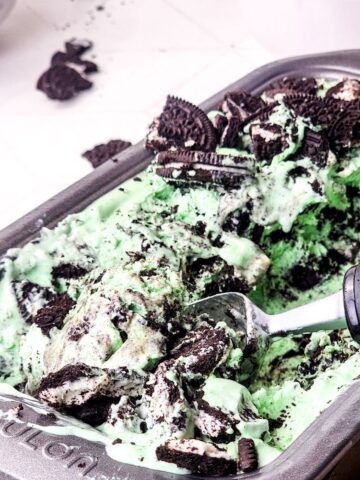
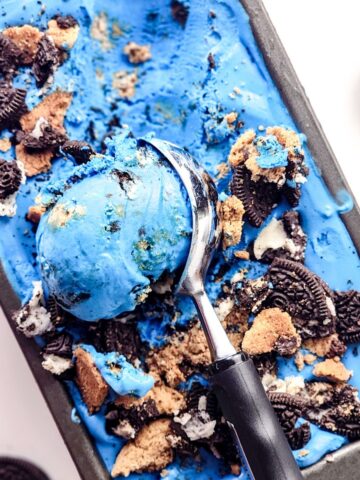
If you love this recipe, you’ll also enjoy my Mint Oreo Ice Cream, No Churn Pumpkin Spice Ice Cream, and Homemade Cookie Monster Ice Cream. They’re all easy crowd-pleasers with the same fun, frozen vibes.
Ingredient List

As an Amazon Associate, I earn from qualifying purchases.
- Chocolate ice cream
- Chocolate Sandwich cookies
- Hot fudge sauce
- Vanilla ice cream
- Whipped topping
- Sprinkles
Equipment
- Serving platter
- Parchment paper
- 10-inch springform pan
- Mixing bowl
- Spatula
Instructions
This is an overview of the recipe. The full instructions are below in the recipe card.

- Spread the softened chocolate ice cream evenly into the bottom of the lined springform pan. Freeze.

- In a mixing bowl, stir together the crushed Oreos and hot fudge sauce until well combined. Spread this mixture over the chocolate ice cream layer. Freeze,

- Spread the softened vanilla ice cream over the Oreo-fudge layer. Freeze for 1–2 hours until completely solid.

- Spread whipped topping evenly over the top and decorate with sprinkles. Freeze until ready to serve.

Make-ahead, storage, and freezer tips
Storage: Keep the cake covered in the freezer for up to 7 days.
Make ahead: Assemble the cake up to 3 days in advance and decorate just before serving.
Freezing: This cake is freezer-friendly for up to 2 weeks. Wrap tightly to avoid freezer burn.

Eileen's Tips for Success
- Soften your ice cream just enough to spread easily but not so much that it melts.
- Use a sturdy spatula to press down each layer firmly for clean slices.
- Run your knife under hot water before cutting for smooth, neat slices.
Variations
Want to change up this recipe? Here are some ways to change the flavor of this dish.
- Ice Cream: Swap chocolate ice cream for mint chocolate chip or no-churn cookies and cream.
- Sauce: Use caramel sauce instead of fudge for a different flavor twist.
- Toppings: Add crushed candy bars or peanut butter cups between layers. For the over-21s, add Whiskey Infused Cherries.
Frequently Asked Questions
Can I make this cake without a springform pan?
Can I use homemade whipped cream instead of Cool Whip?
Do I have to use Oreos?
Serving Suggestions
- Serve this Dairy Queen copycat cake recipe alongside your favorite meal, such as these Bang Bang Chicken Skewers.
- If you are serving it for a birthday party, you can also serve it alongside this Grape Salad and Marshmallow Fruit Dip for some tasty appetizers.
Similar recipes
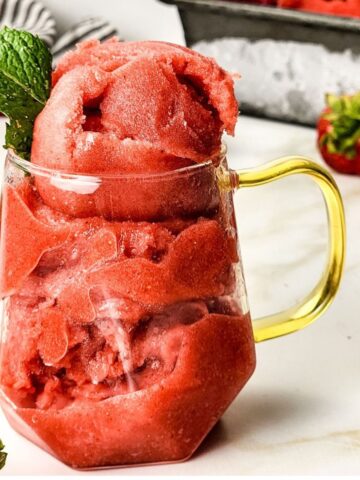
Do you love ice cream as much as I do? Check out these delicious ice cream recipes:
Here are all our ice cream flavors.
I love any comments or questions, please feel free to leave them below.
Keep up to date with recipes by following me on:
FACEBOOK INSTAGRAM PINTEREST TWITTER
Thank you for your continued support. I am forever grateful.
Eileen xo
If you click on the number of servings in the recipe card, you can adjust the measurements up or down for the exact number of servings you need.
📖 Recipe
Save the Recipe?
Copycat Dairy Queen Ice Cream Cake
Equipment
Ingredients
Instructions
- Line the bottom of a 10-inch springform pan with parchment paper for easy removal.
- Let the 2 ½ cups chocolate Ice Cream soften slightly, then spread it evenly into the bottom of the springform pan.
- Freeze for 30 minutes or until firm.
- While the first layer freezes, mix 2 cups crushed chocolate sandwich cookies with 12 ounce Hot Fudge Sauce in a medium-sized mixing bowl until combined.
- Spread the Oreo-fudge mixture over the frozen chocolate ice cream layer.
- Freeze for another 30 minutes or until firm.
- Let the 1 quart Vanilla Ice Cream soften slightly, then spread it evenly over the Oreo fudge layer.
- Freeze the entire cake for at least 1–2 hours until completely firm.
- Once frozen, remove the cake from the springform pan and place it on a serving platter.
- Spread 8 ounces whipped topping over the top and finish with colorful sprinkles.
- Freeze until ready to serve.
- Let sit at room temperature for 5–10 minutes before slicing for easier cutting. Serve and enjoy.

Comments
No Comments