Skip to primary navigation
Skip to main content
Skip to primary sidebar
Home
Recipes
Lifestyle
About
Let's Go Shopping
Privacy Policy
Contact
Subscribe
Search
menu icon
Home
Recipes
Lifestyle
About
Let's Go Shopping
Privacy Policy
Contact
Subscribe
subscribe
search icon
Search
Home
Recipes
Lifestyle
About
Let's Go Shopping
Privacy Policy
Contact
Subscribe
×
Home
Blog
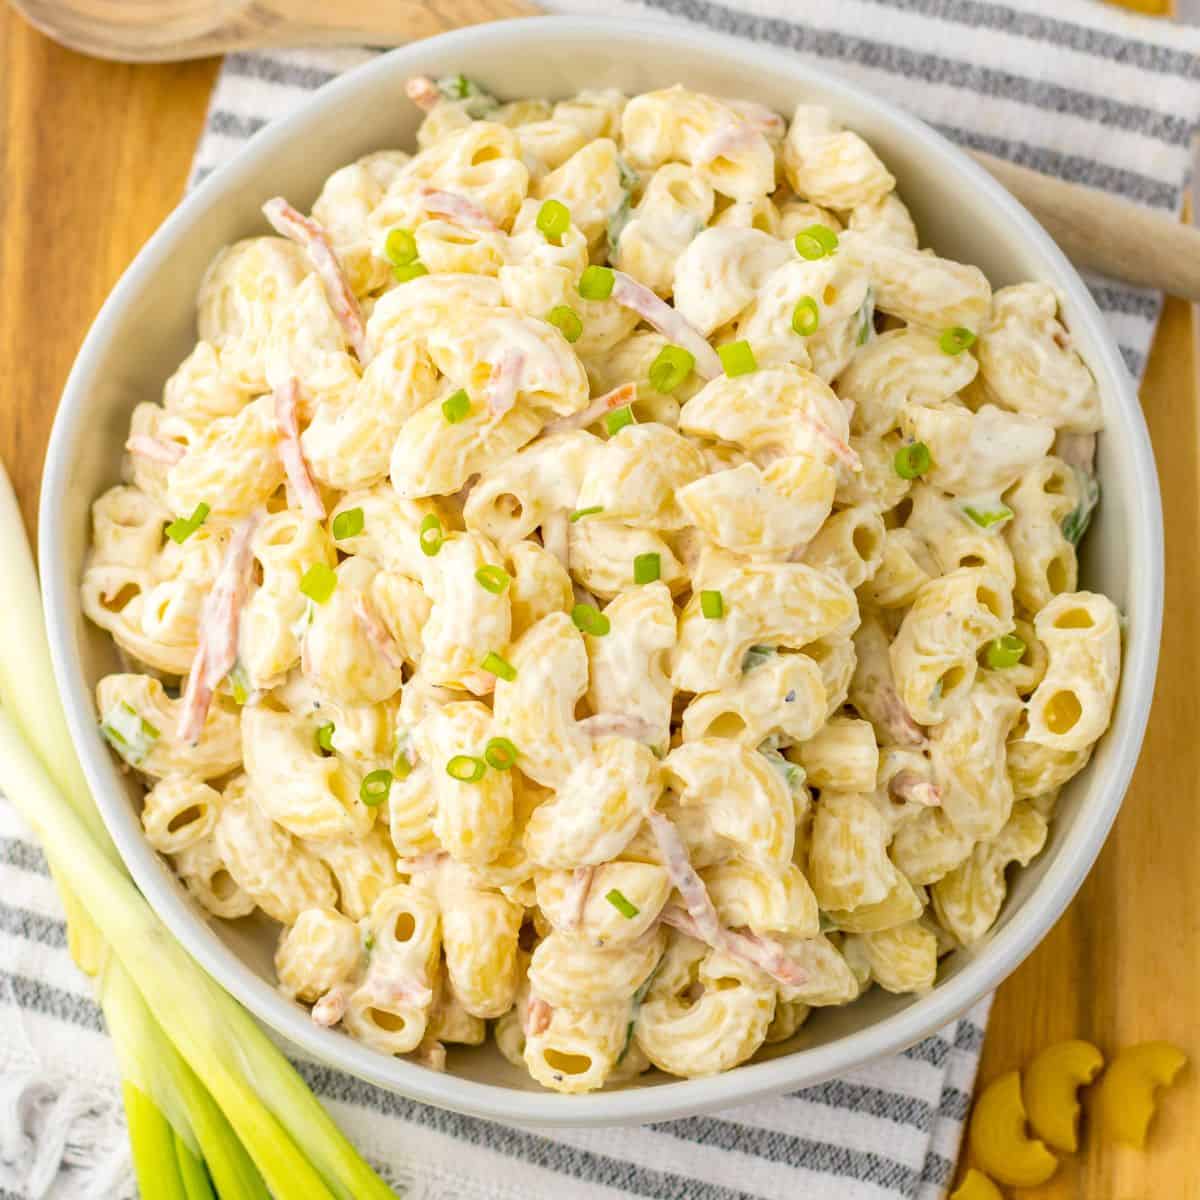
Hawaiian Macaroni Salad Recipe
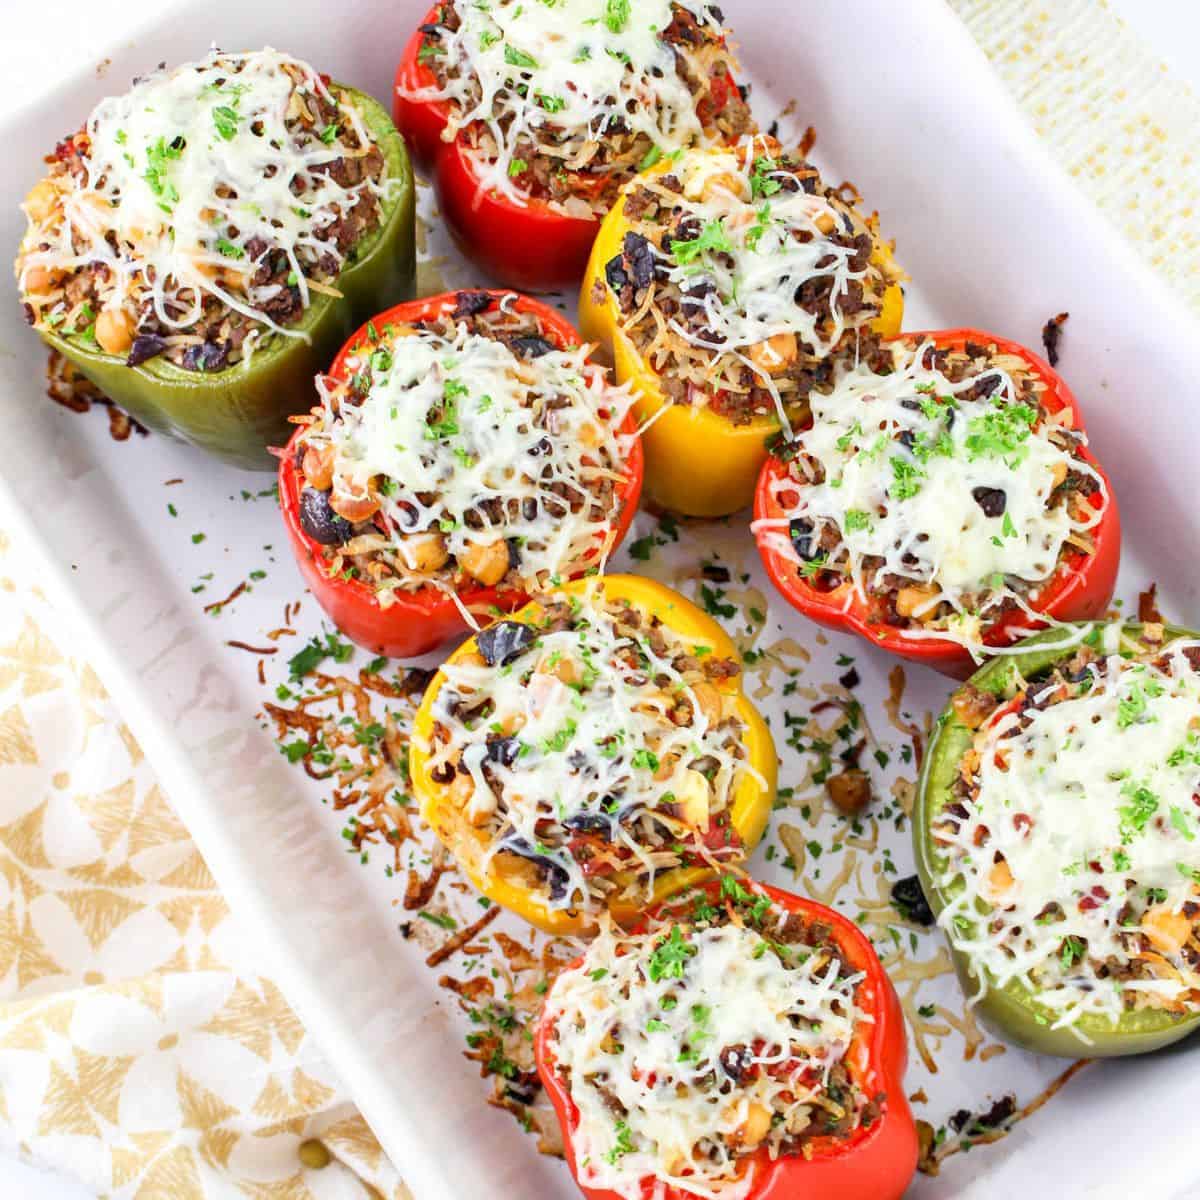
Greek Stuffed Peppers
Lavender Macarons
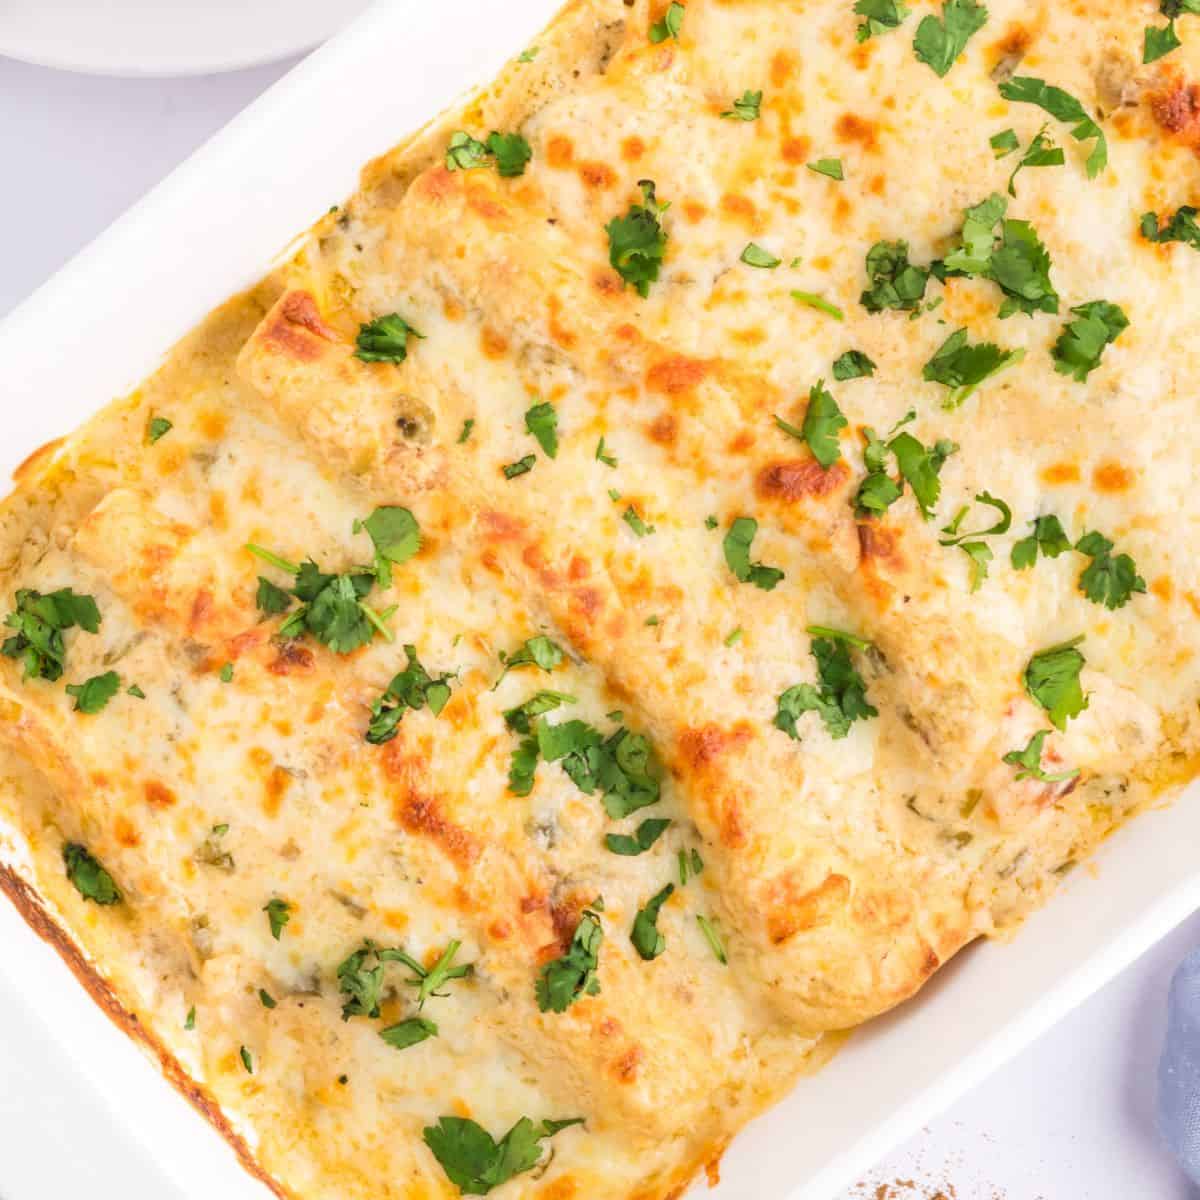
Sour Cream Chicken Enchiladas
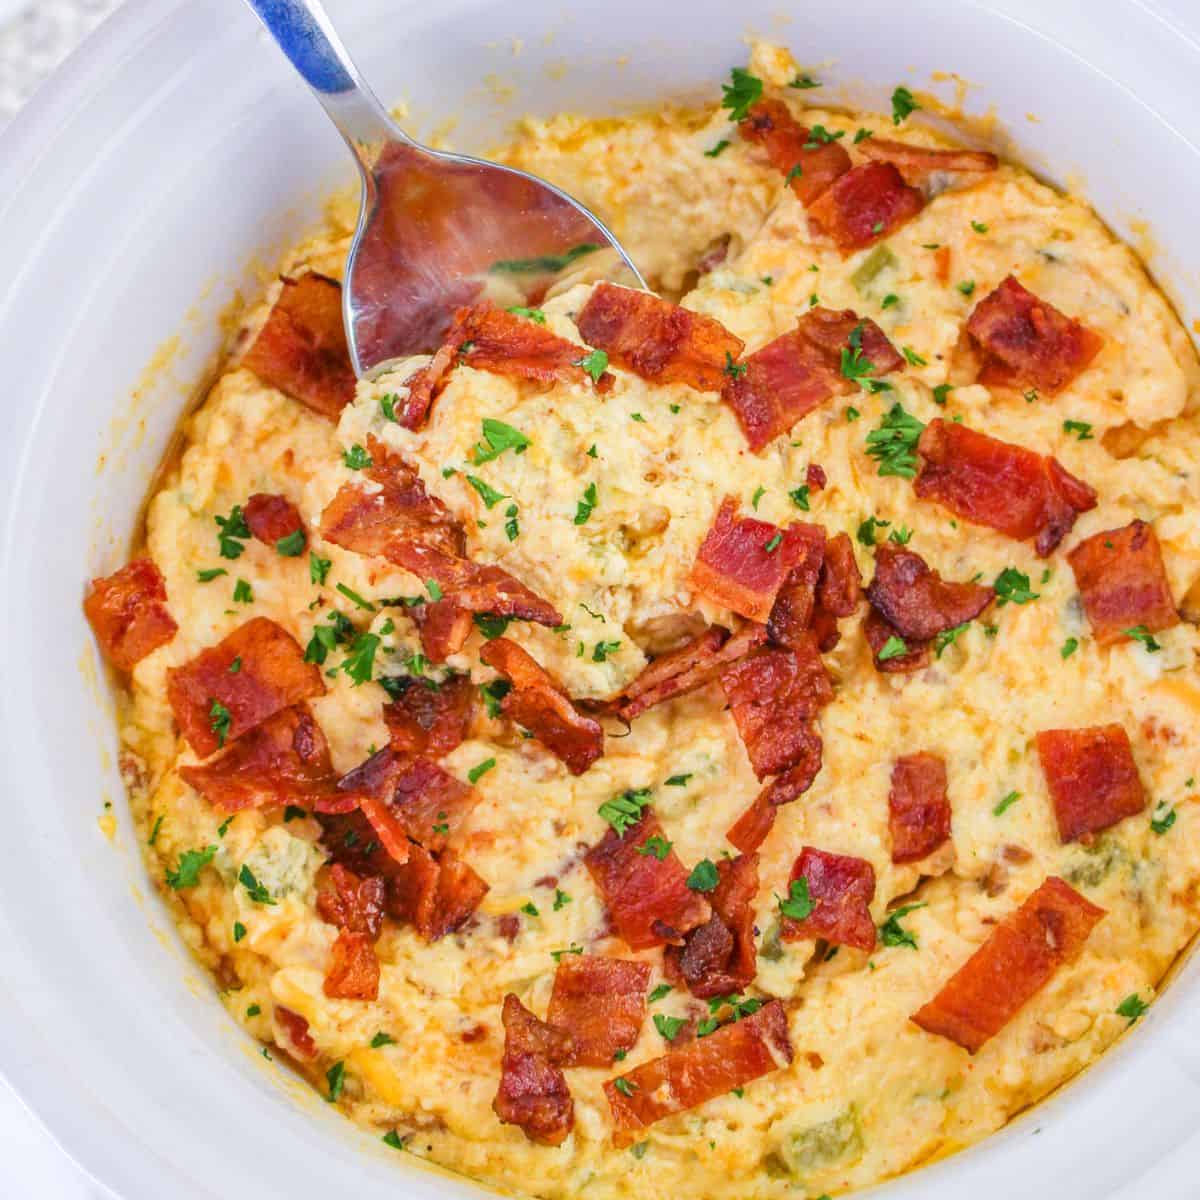
Slow Cooker Jalapeno Popper Dip
Classic Aperol Spritz Cocktail
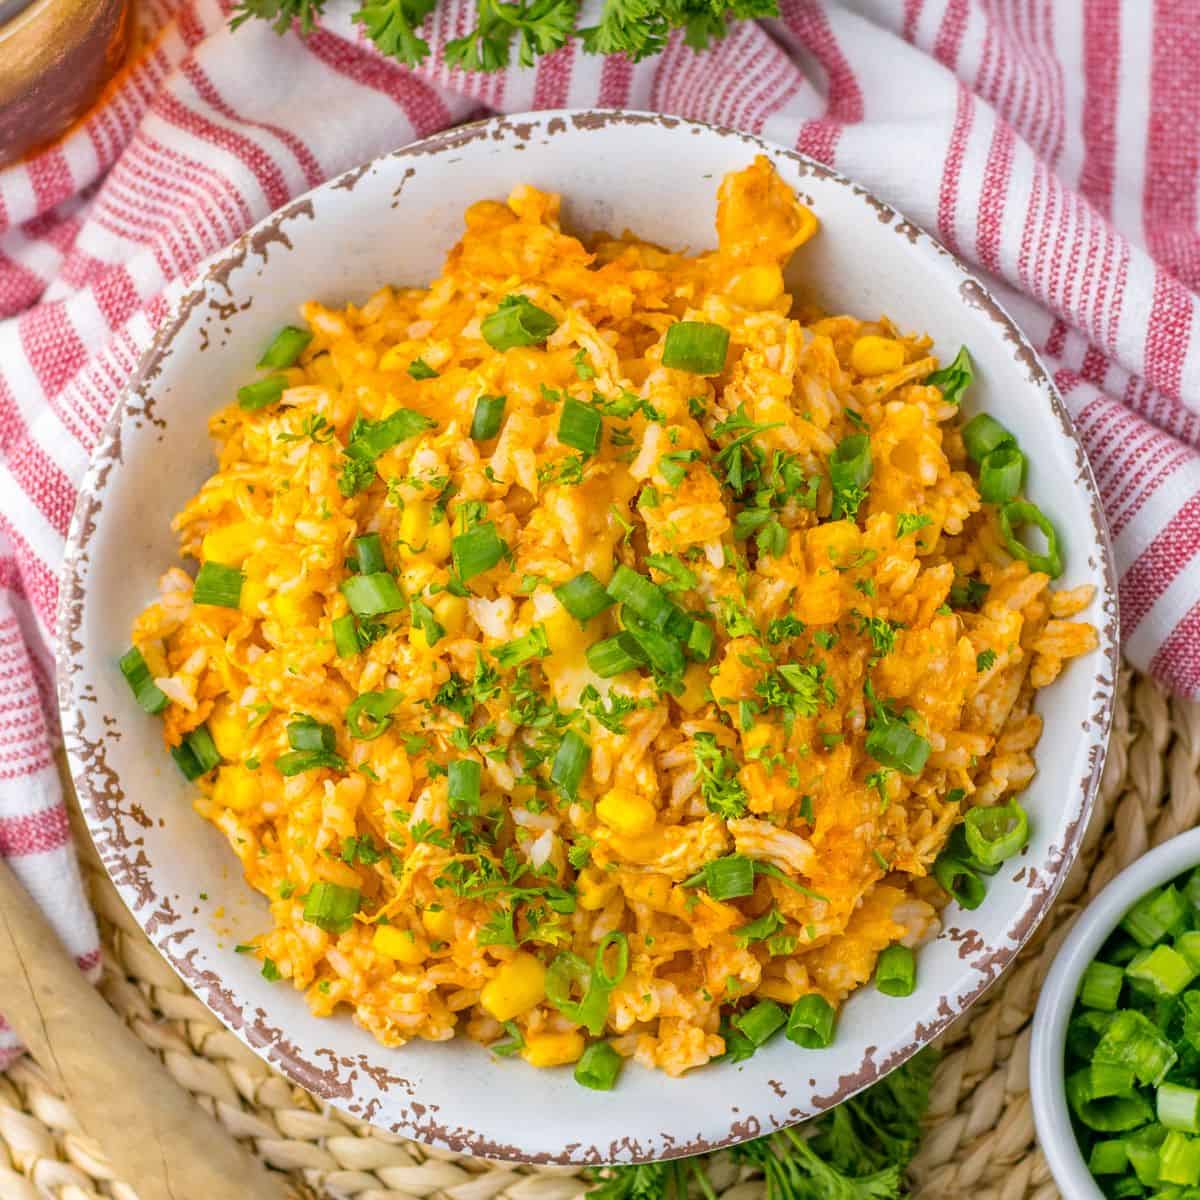
Chicken Enchilada Rice Casserole
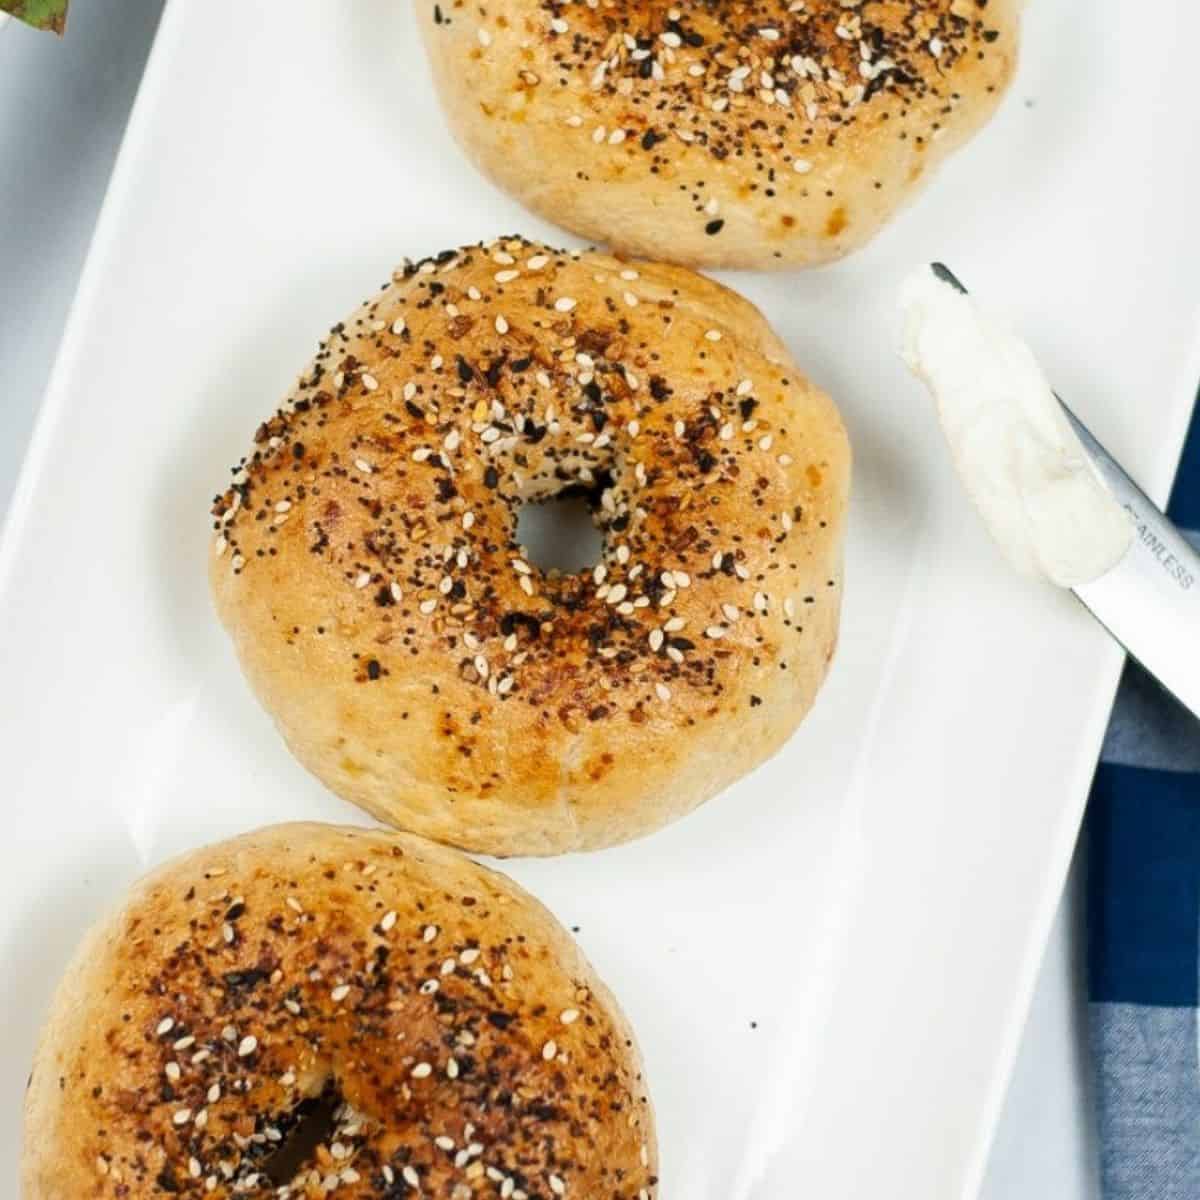
Air Fryer Bagels
Fry Bread Tacos
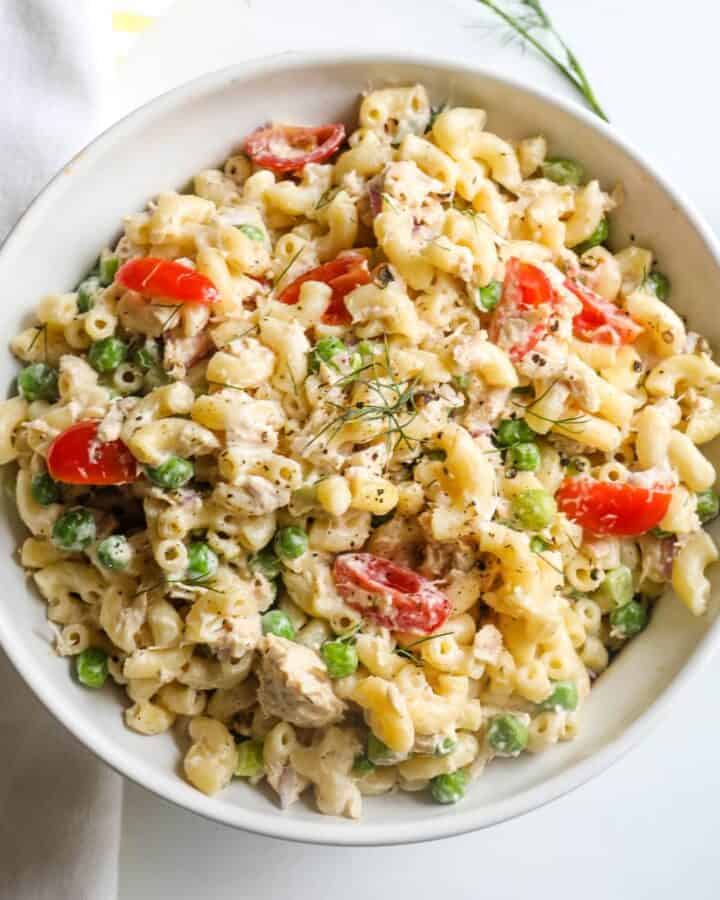
Easy Tuna Pasta Salad
Page
1
Page
2
Page
3
Interim pages omitted
…
Page
69
Go to
Next Page »