Skip to primary navigation
Skip to main content
Skip to primary sidebar
Home
Recipes
Lifestyle
About
Let's Go Shopping
Privacy Policy
Contact
Subscribe
Search
menu icon
Home
Recipes
Lifestyle
About
Let's Go Shopping
Privacy Policy
Contact
Subscribe
subscribe
search icon
Search
Home
Recipes
Lifestyle
About
Let's Go Shopping
Privacy Policy
Contact
Subscribe
×
Home
Blog
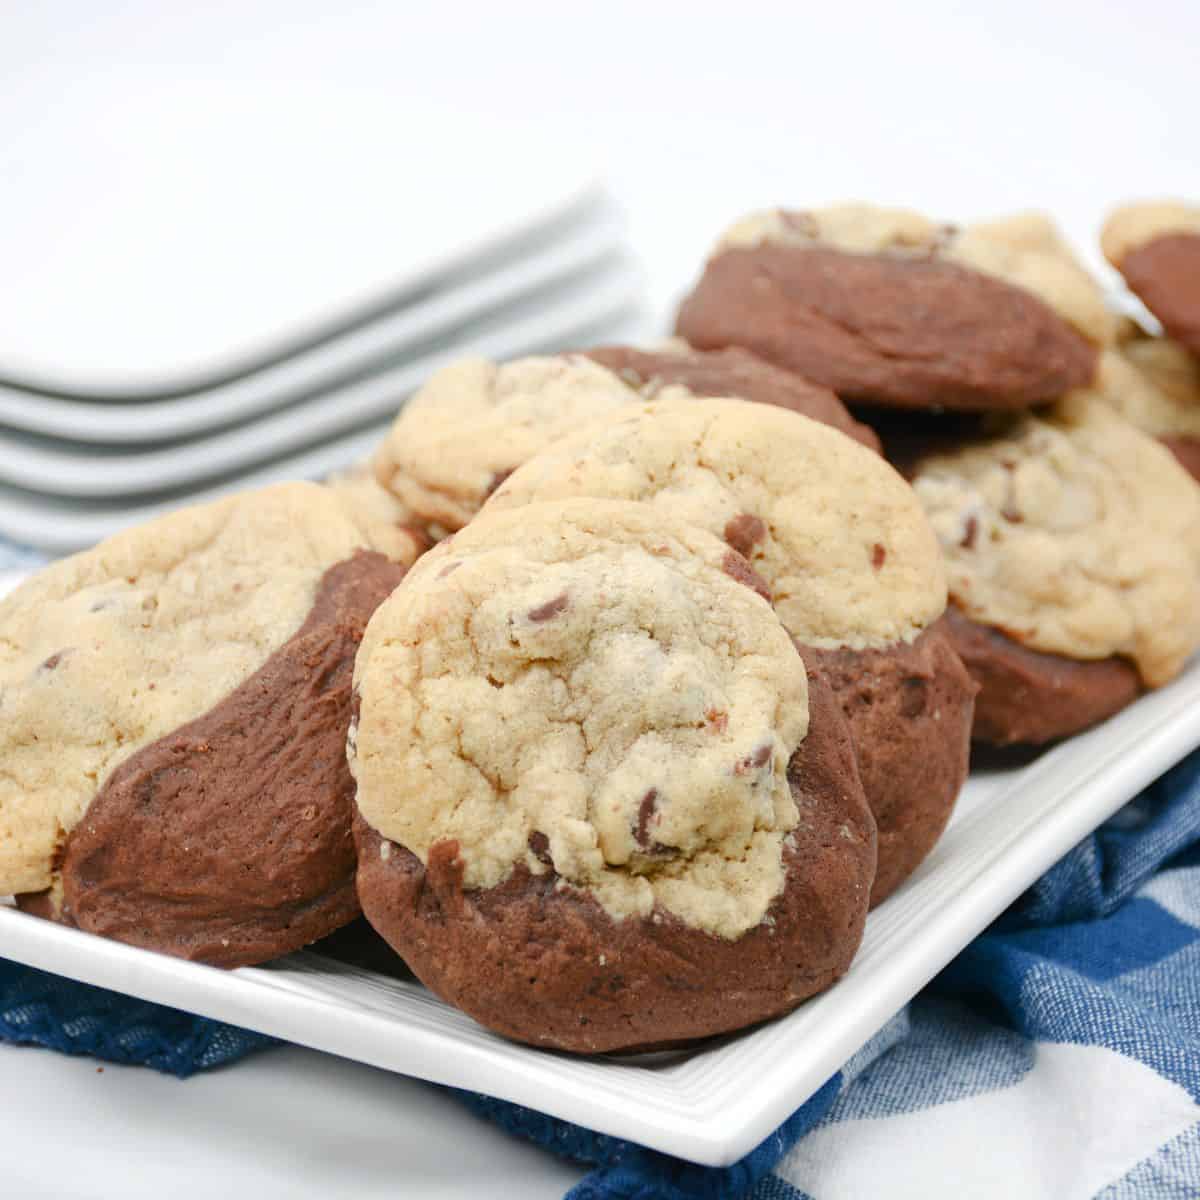
Brookie Cookies Recipe
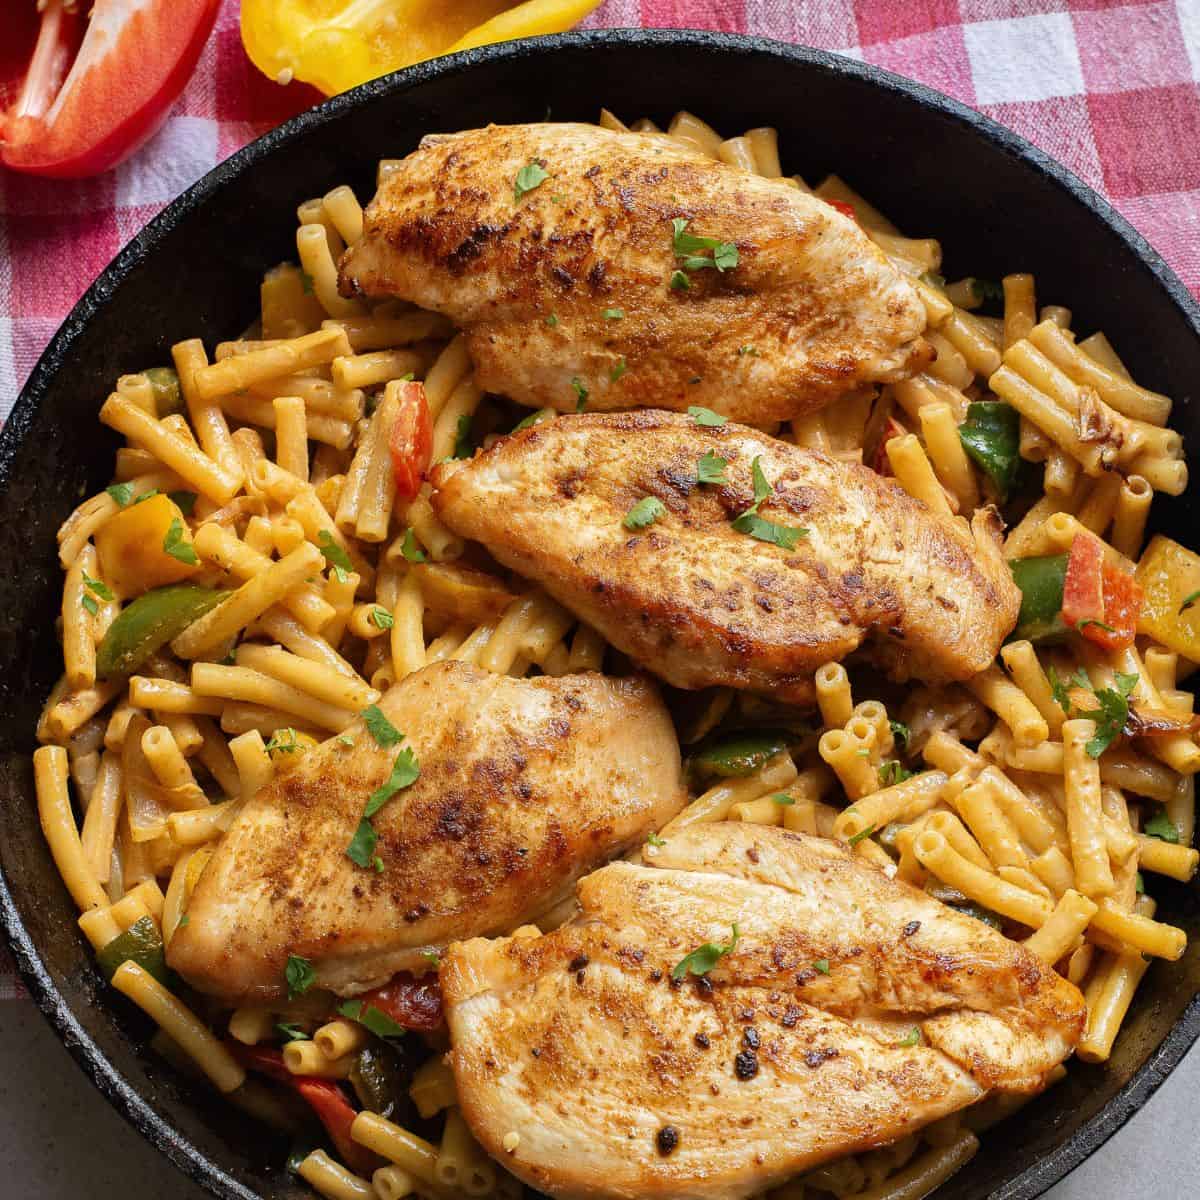
Chicken Fajita Pasta
Homemade Air Fryer Fish Sticks
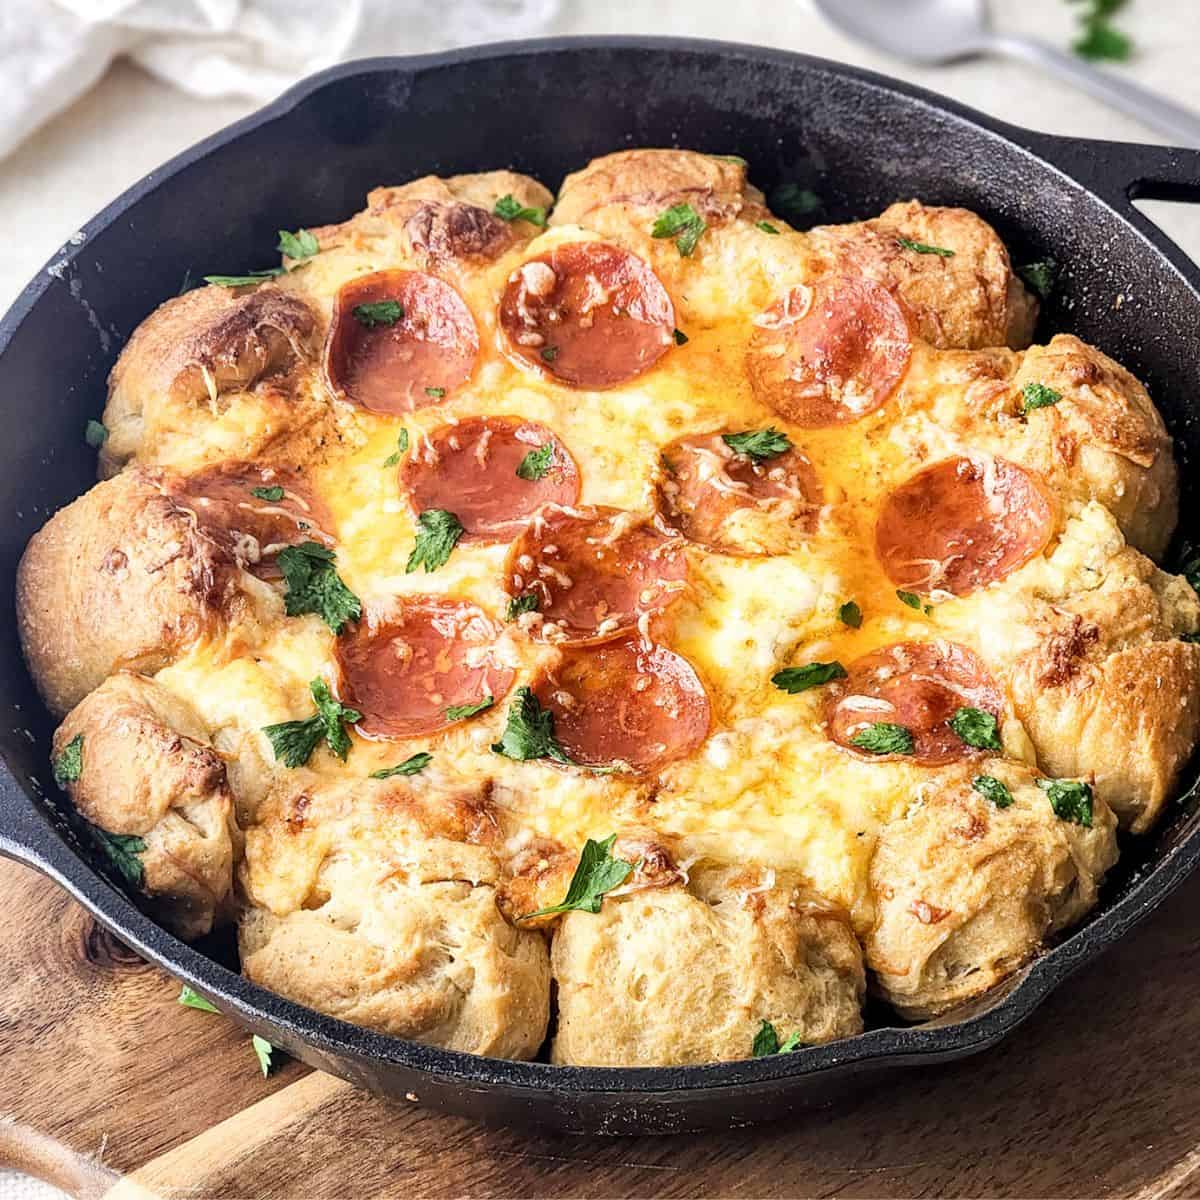
Skillet Pizza Dip
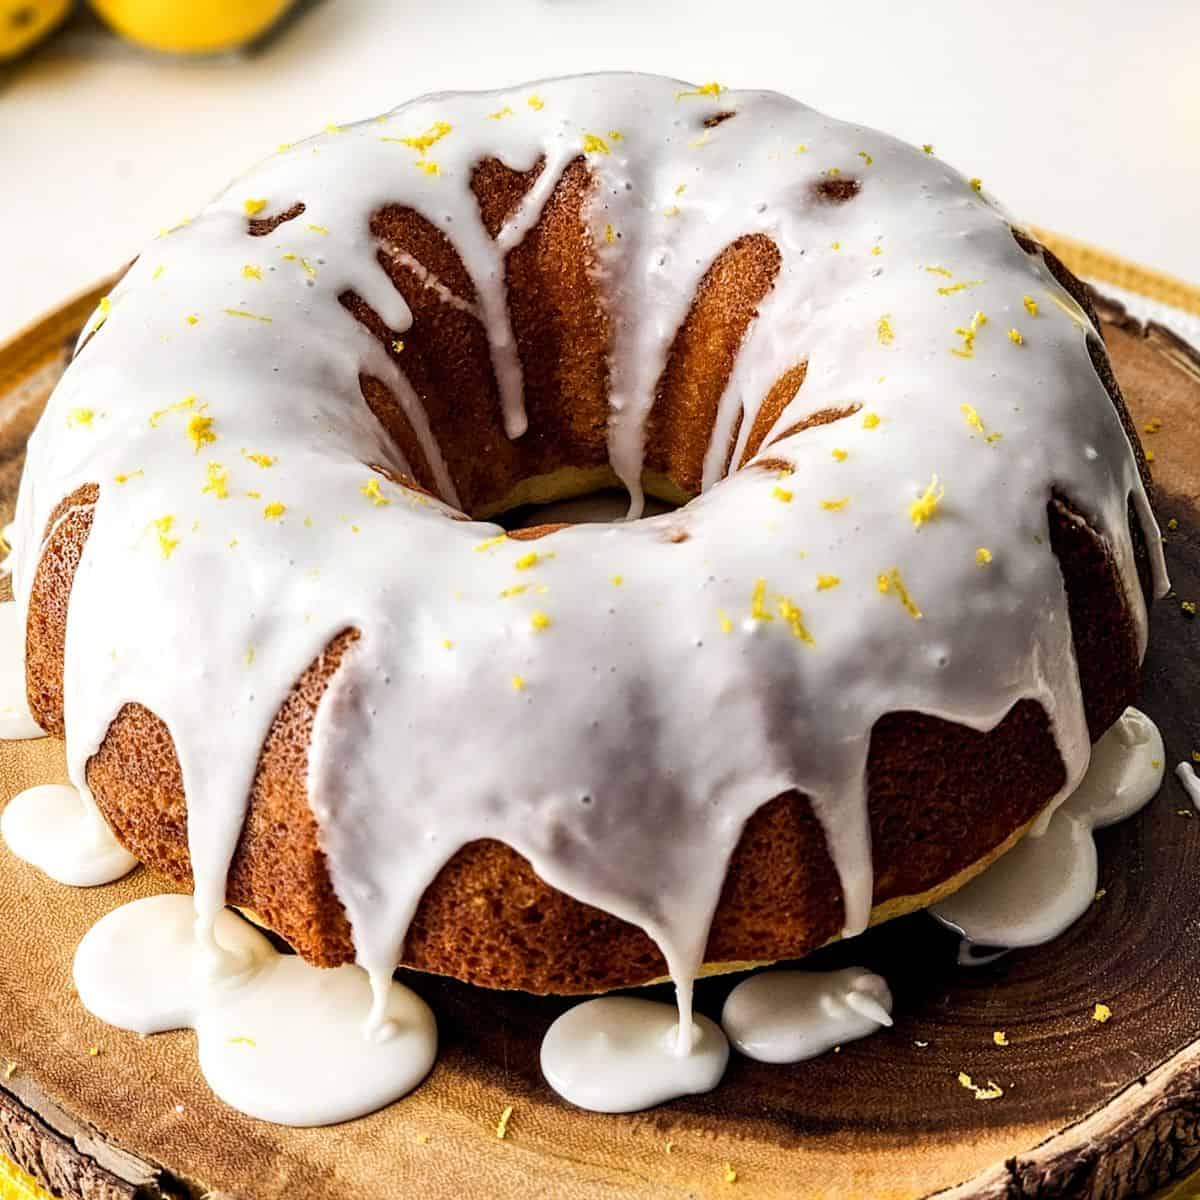
Homemade Lemon Bundt Cake
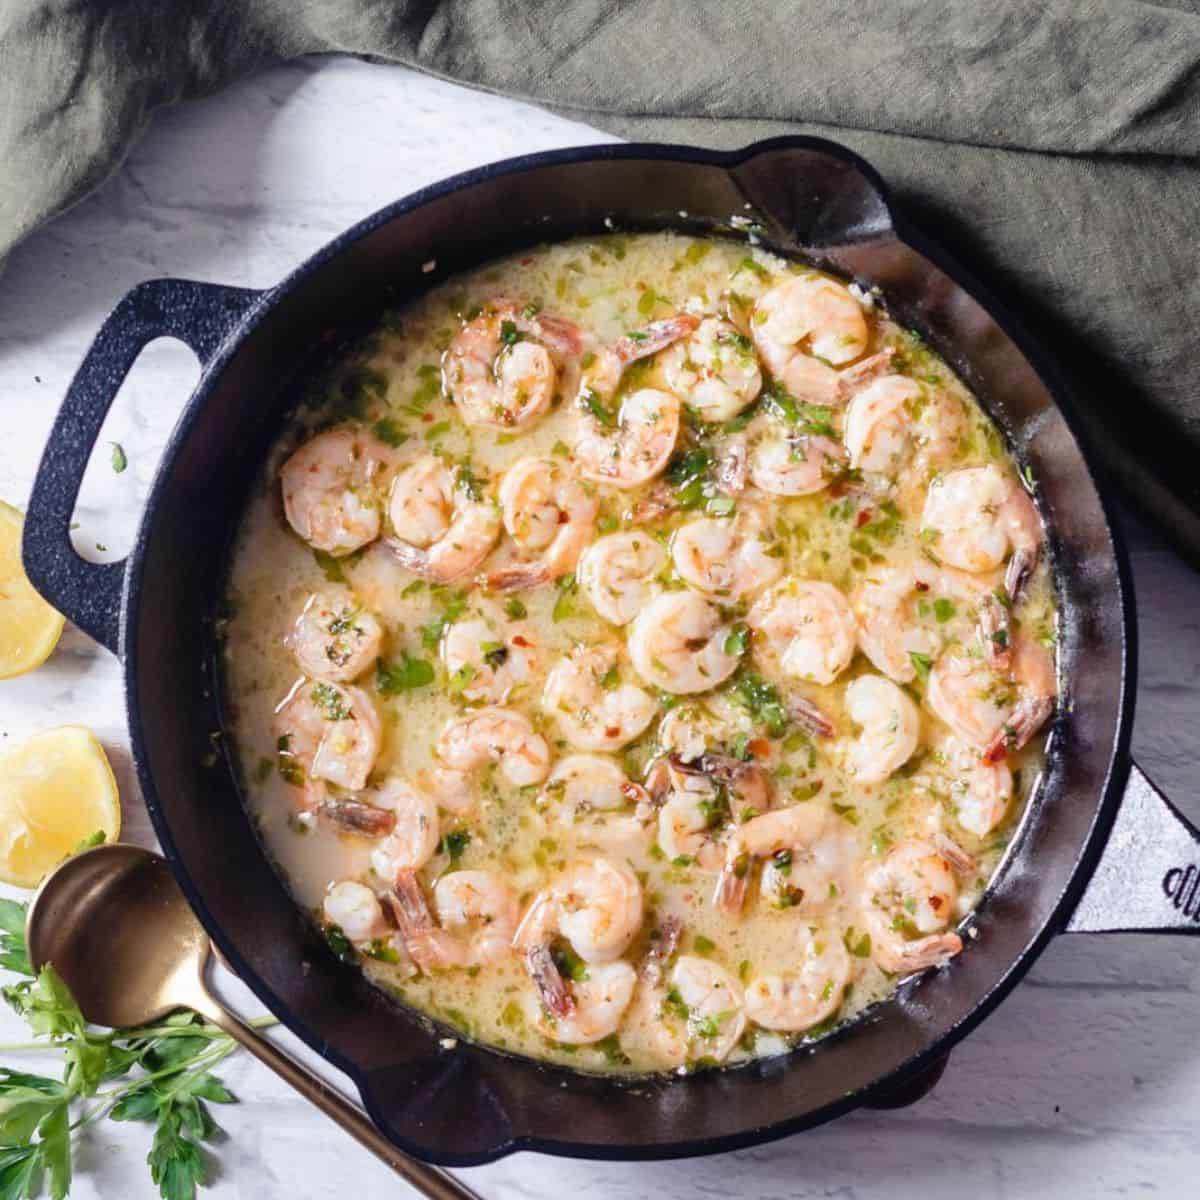
Easy Shrimp Scampi
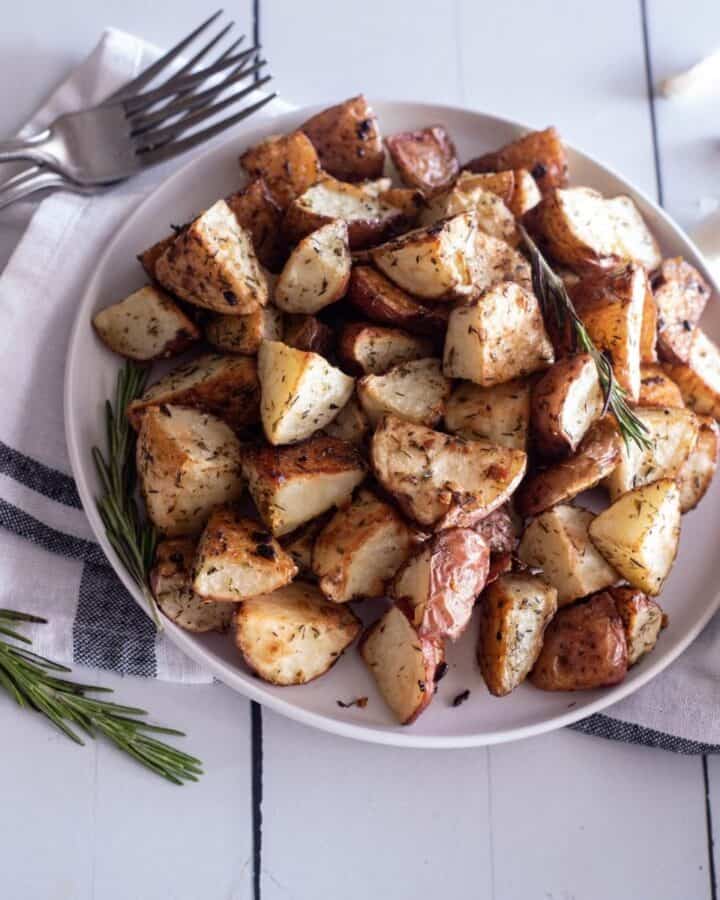
Garlic Roasted Red Potatoes
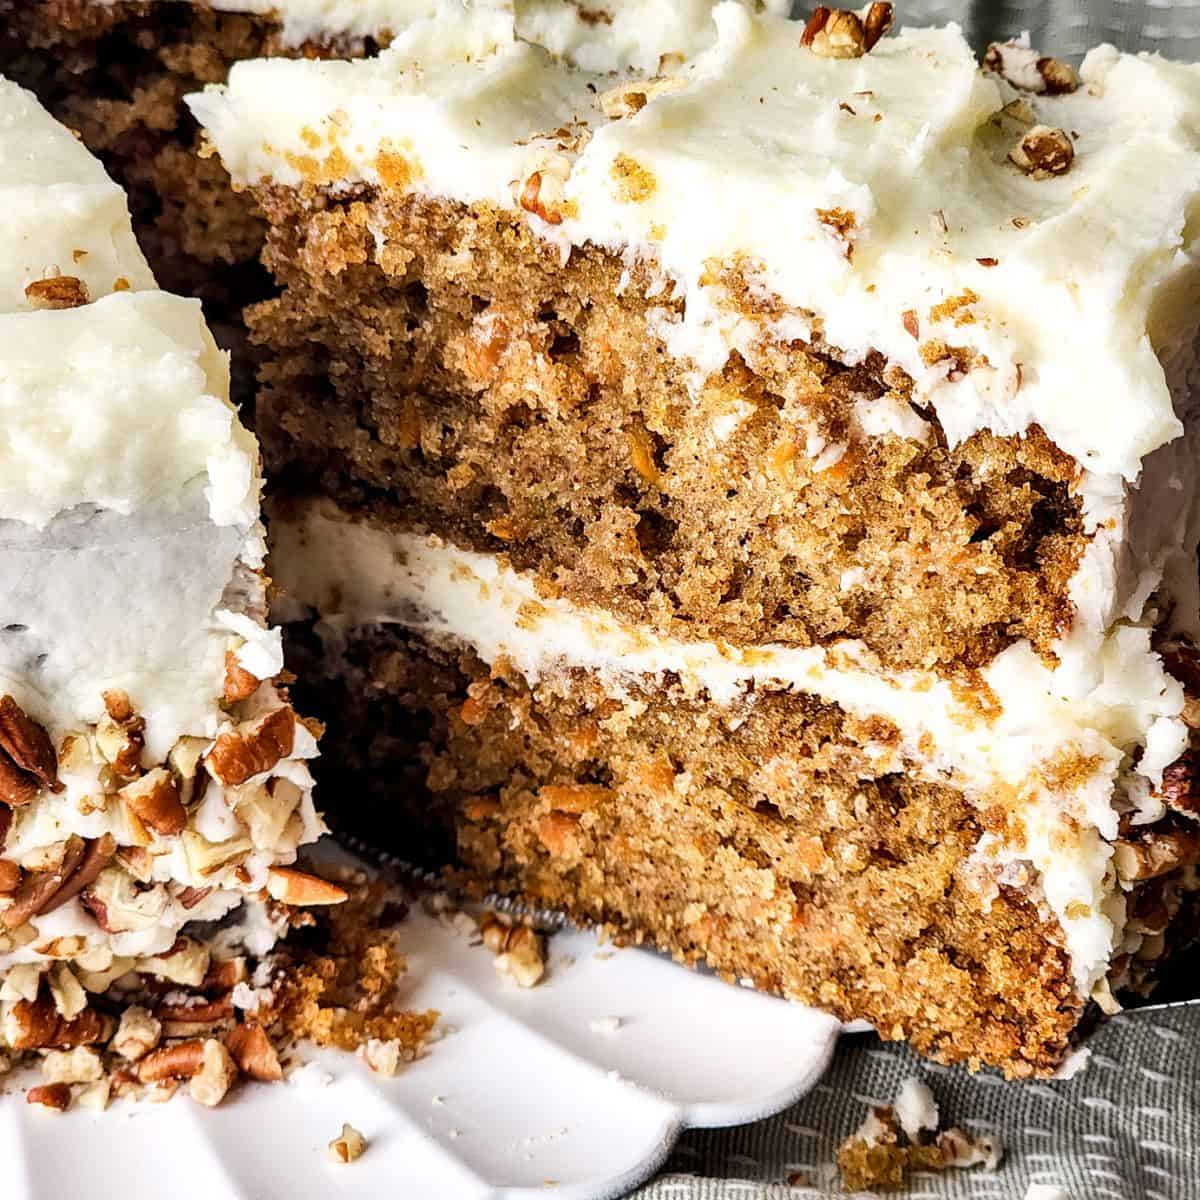
Best Homemade Carrot Cake
Easter Jello Shots
Baked Honey Glazed Ham Recipe
«
Go to
Previous Page
Page
1
Page
2
Page
3
Page
4
Interim pages omitted
…
Page
69
Go to
Next Page »