Skip to primary navigation
Skip to main content
Skip to primary sidebar
Home
Recipes
Lifestyle
About
Let's Go Shopping
Privacy Policy
Contact
Subscribe
Search
menu icon
Home
Recipes
Lifestyle
About
Let's Go Shopping
Privacy Policy
Contact
Subscribe
subscribe
search icon
Search
Home
Recipes
Lifestyle
About
Let's Go Shopping
Privacy Policy
Contact
Subscribe
×
Home
Blog
Brown Butter Pecan Cookies
Easy Grilled Potato Wedges
Homemade Chocolate Beignets
Big Mac Mini Meatloaf Recipe
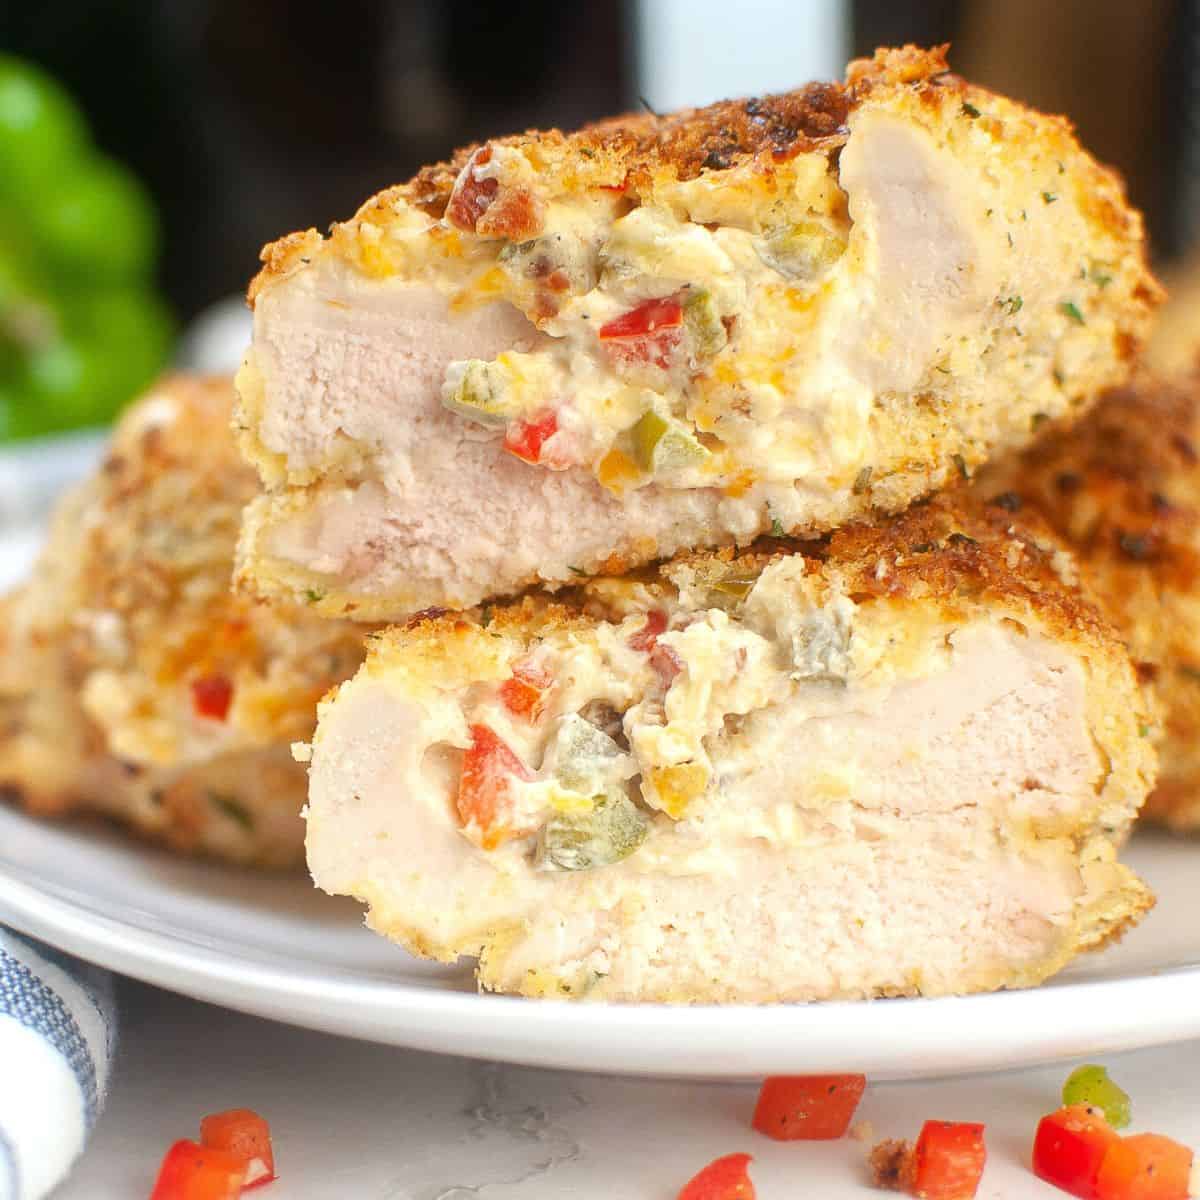
Air Fryer Stuffed Chicken Breasts
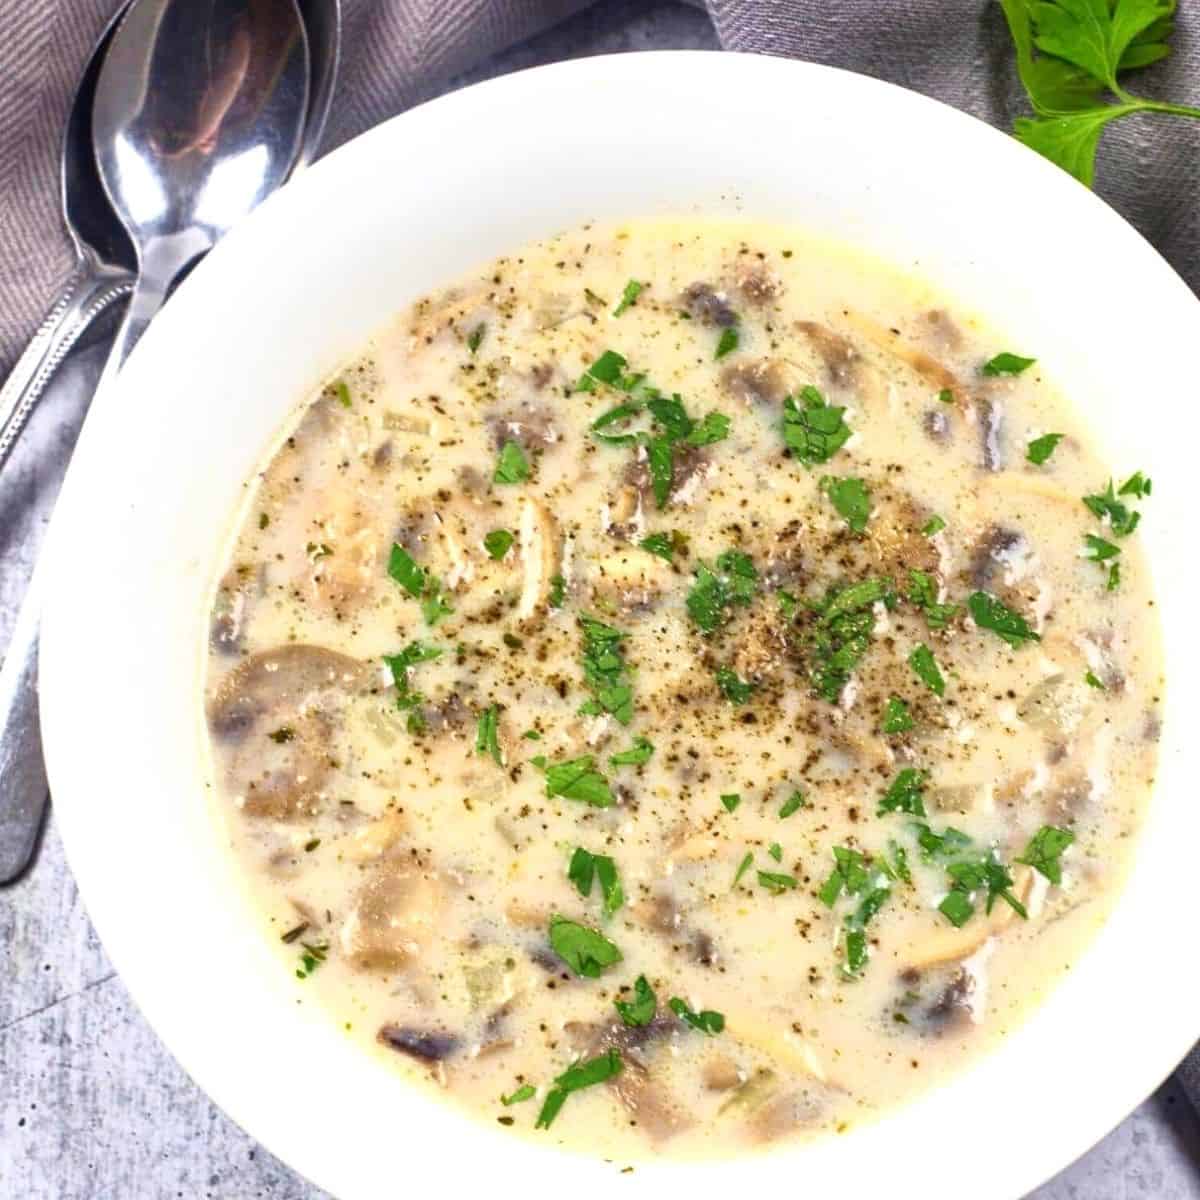
Creamy Mushroom Barley Soup Recipe
Lemon Dutch Oven Roast Chicken
Crispy Air Fryer Tofu Recipe
Valentine's Day Brownie Cupcakes
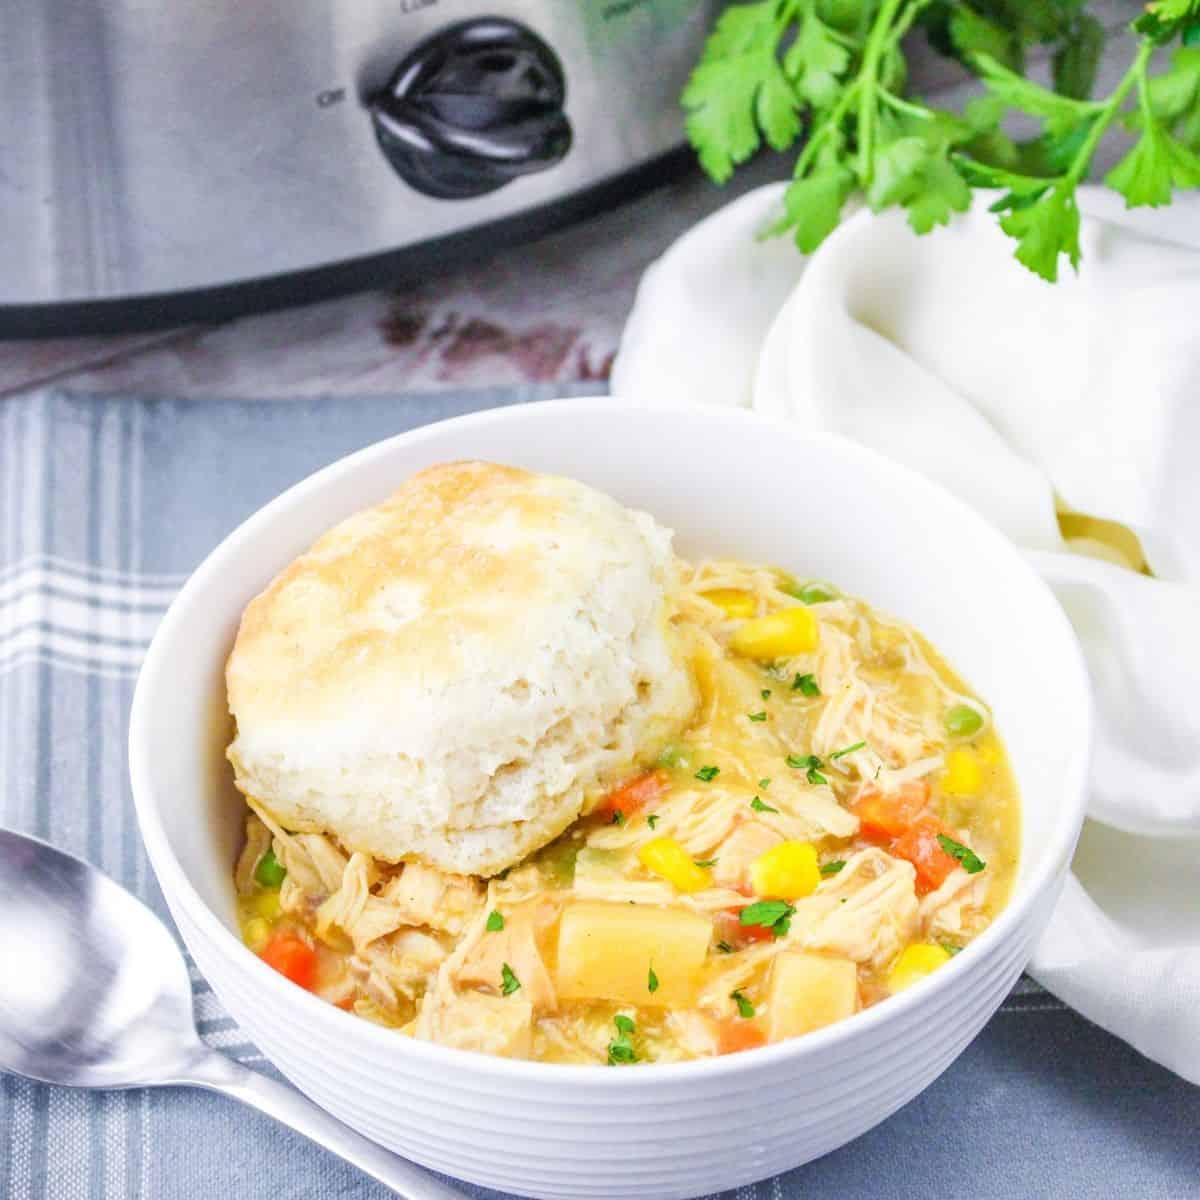
Crock Pot Chicken Pot Pie Recipe
«
Go to
Previous Page
Page
1
Page
2
Page
3
Page
4
Page
5
Page
6
Interim pages omitted
…
Page
69
Go to
Next Page »