Skip to primary navigation
Skip to main content
Skip to primary sidebar
Home
Recipes
Lifestyle
About
Let's Go Shopping
Privacy Policy
Contact
Subscribe
Search
menu icon
Home
Recipes
Lifestyle
About
Let's Go Shopping
Privacy Policy
Contact
Subscribe
subscribe
search icon
Search
Home
Recipes
Lifestyle
About
Let's Go Shopping
Privacy Policy
Contact
Subscribe
×
Home
Blog
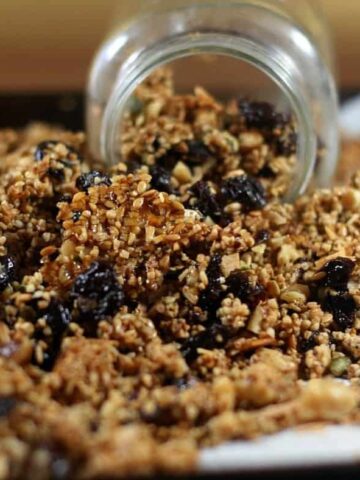
Cherry Coconut Granola
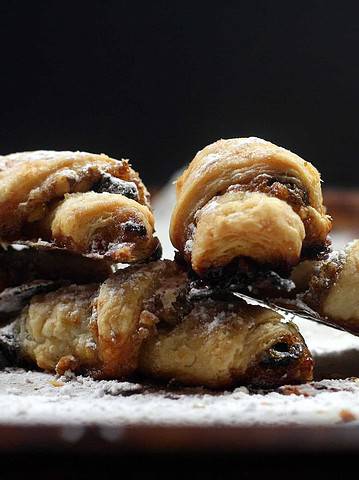
Rugelach
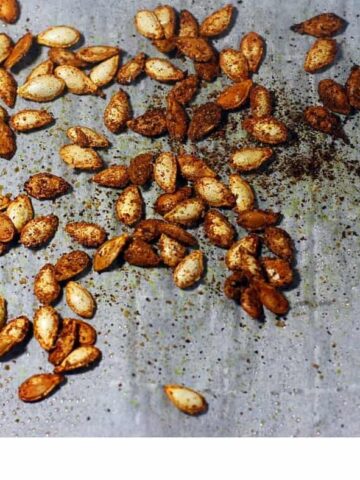
Roasted Seasoned Squash Seeds
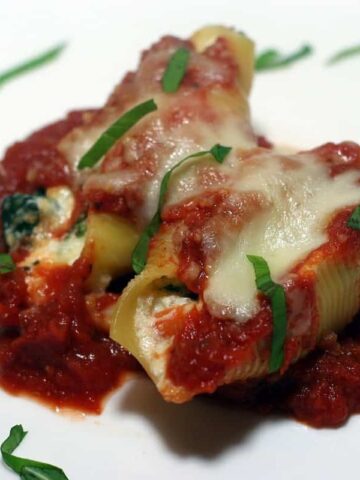
Veggie Stuffed Shells
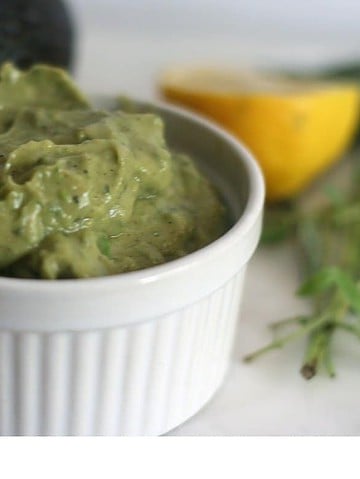
Avocado Lemon Herb Spread
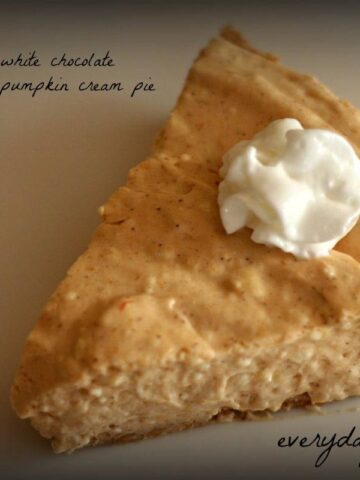
White Chocolate Pumpkin Cream Pie
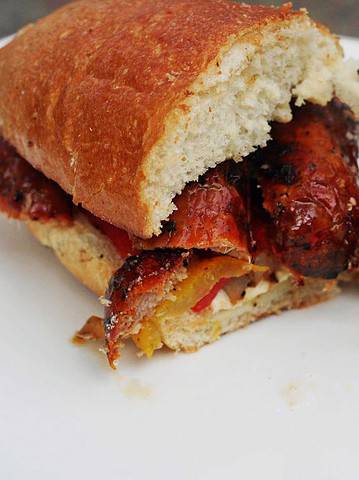
Grilled Chicken Sausage, Onion, and Pepper Sandwich
Watermelon Mint Granita
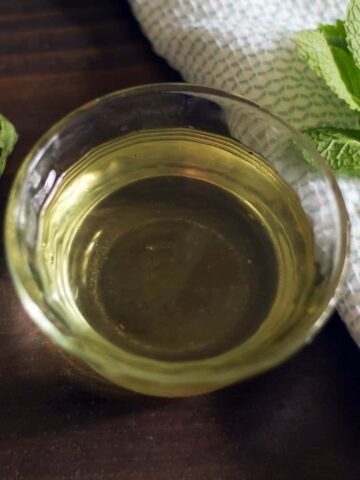
Simple Syrup for Drinks
Lake Placid, New York - a great trip!
«
Go to
Previous Page
Page
1
Interim pages omitted
…
Page
66
Page
67
Page
68
Page
69
Go to
Next Page »